Follow these seven steps to onboard your organization, configure the system, train every role, and maintain long-term success.
Sign-up
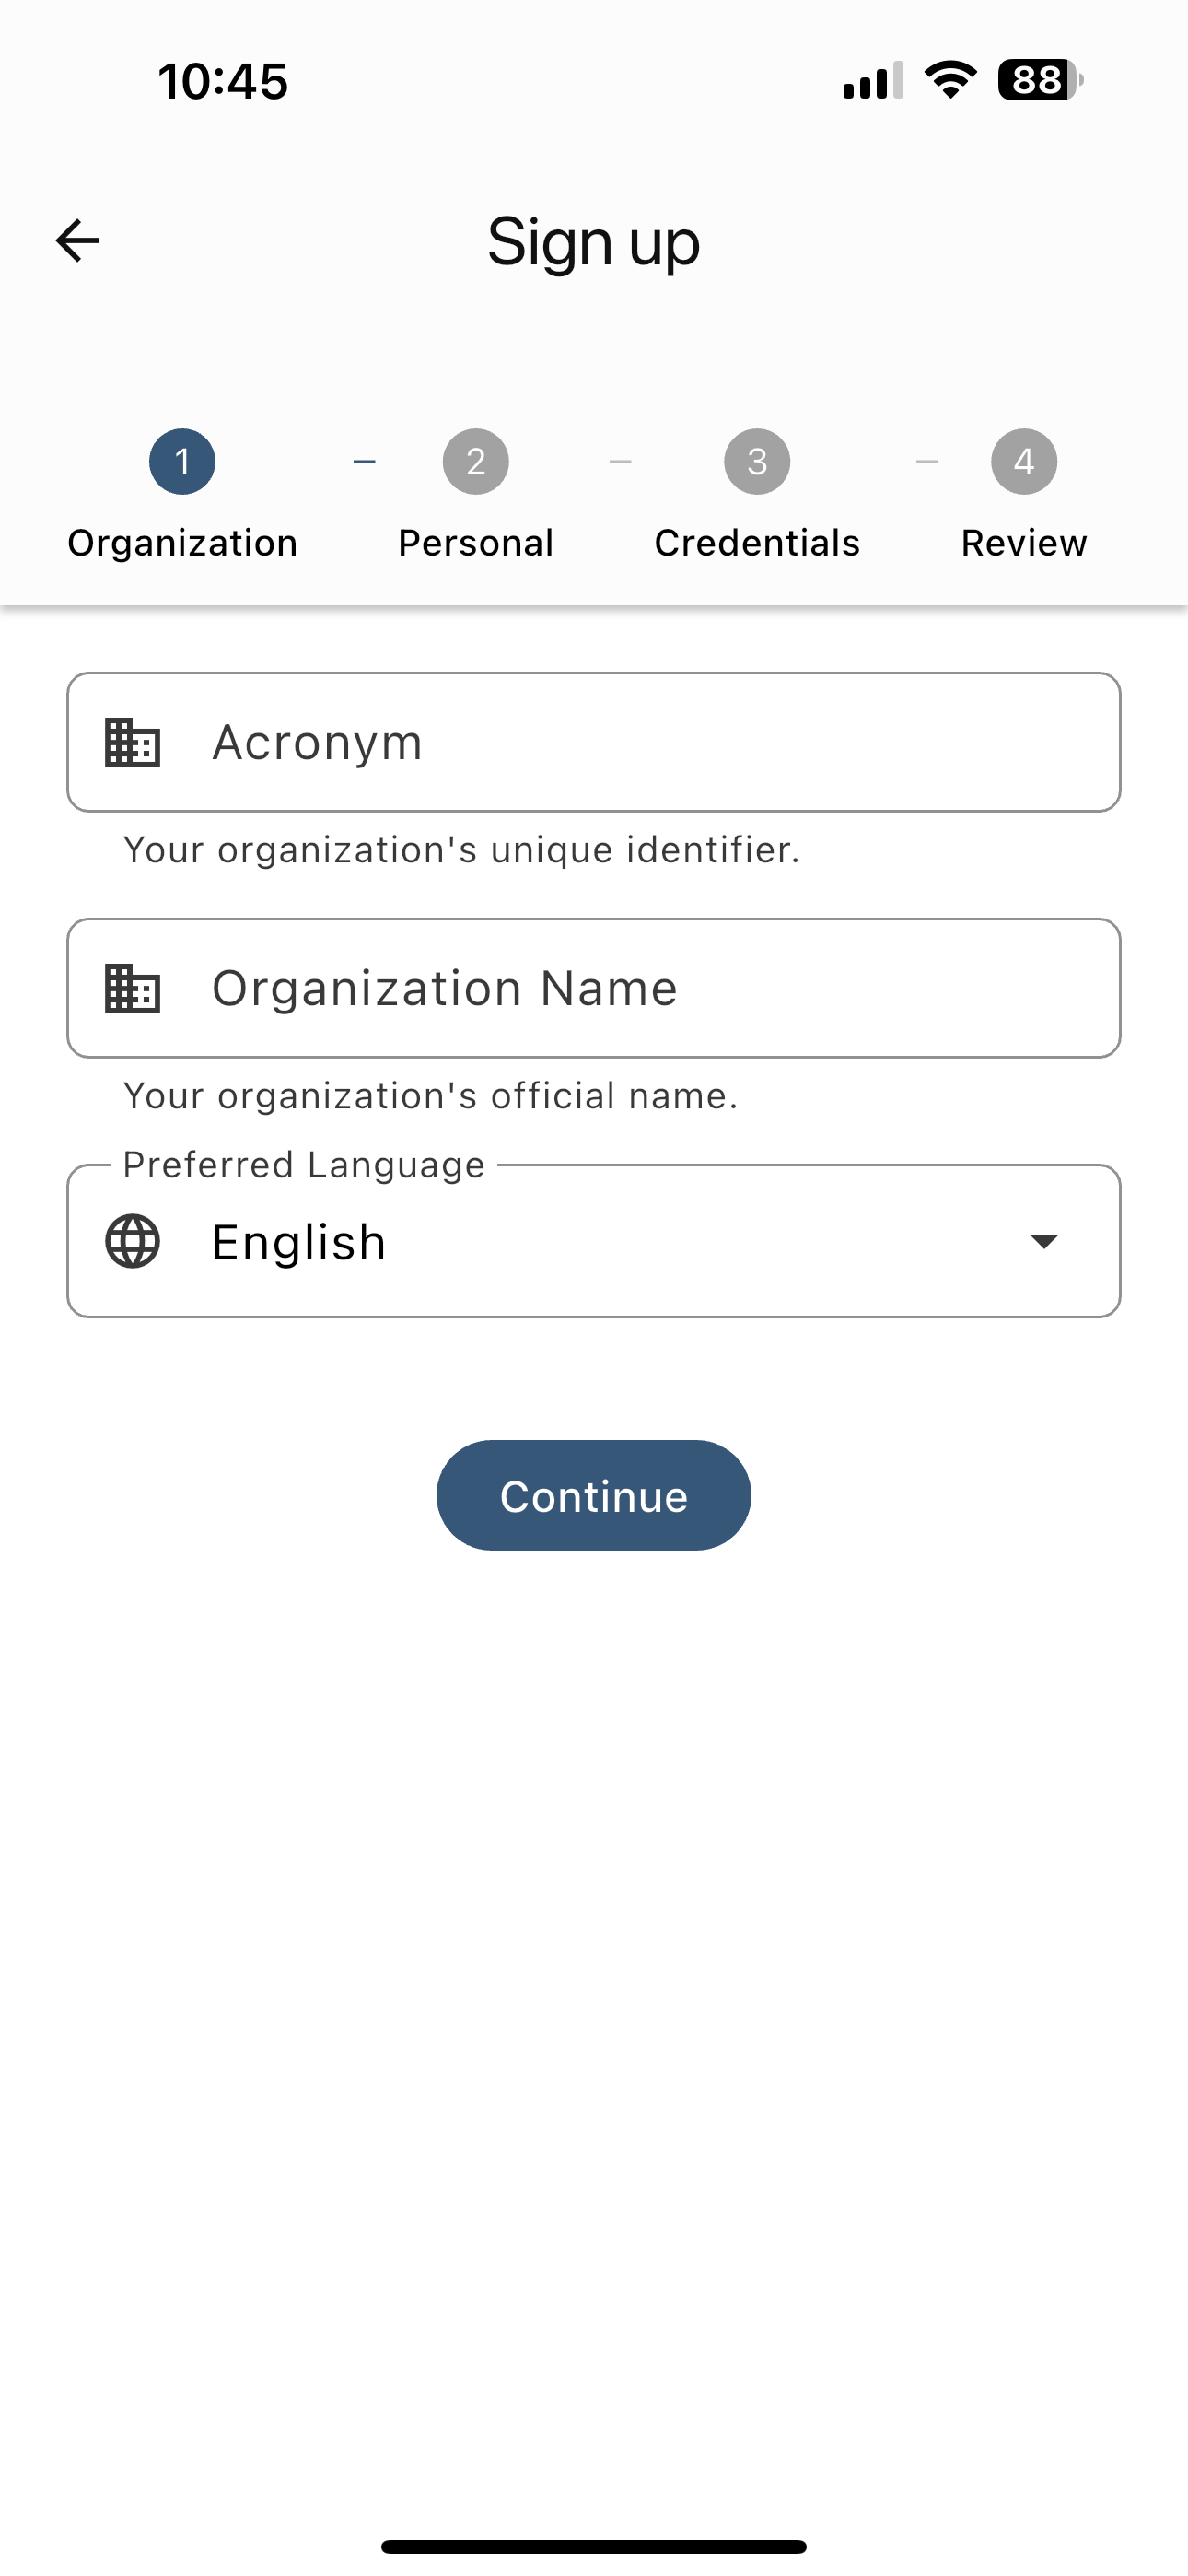
Go to the Sign-Up page and select your preferred language. To register your organization, provide a unique Organization ID and the following details:
Organization Name.
Admin’s first and last name, username, and email address.
A strong password.
Sign-in
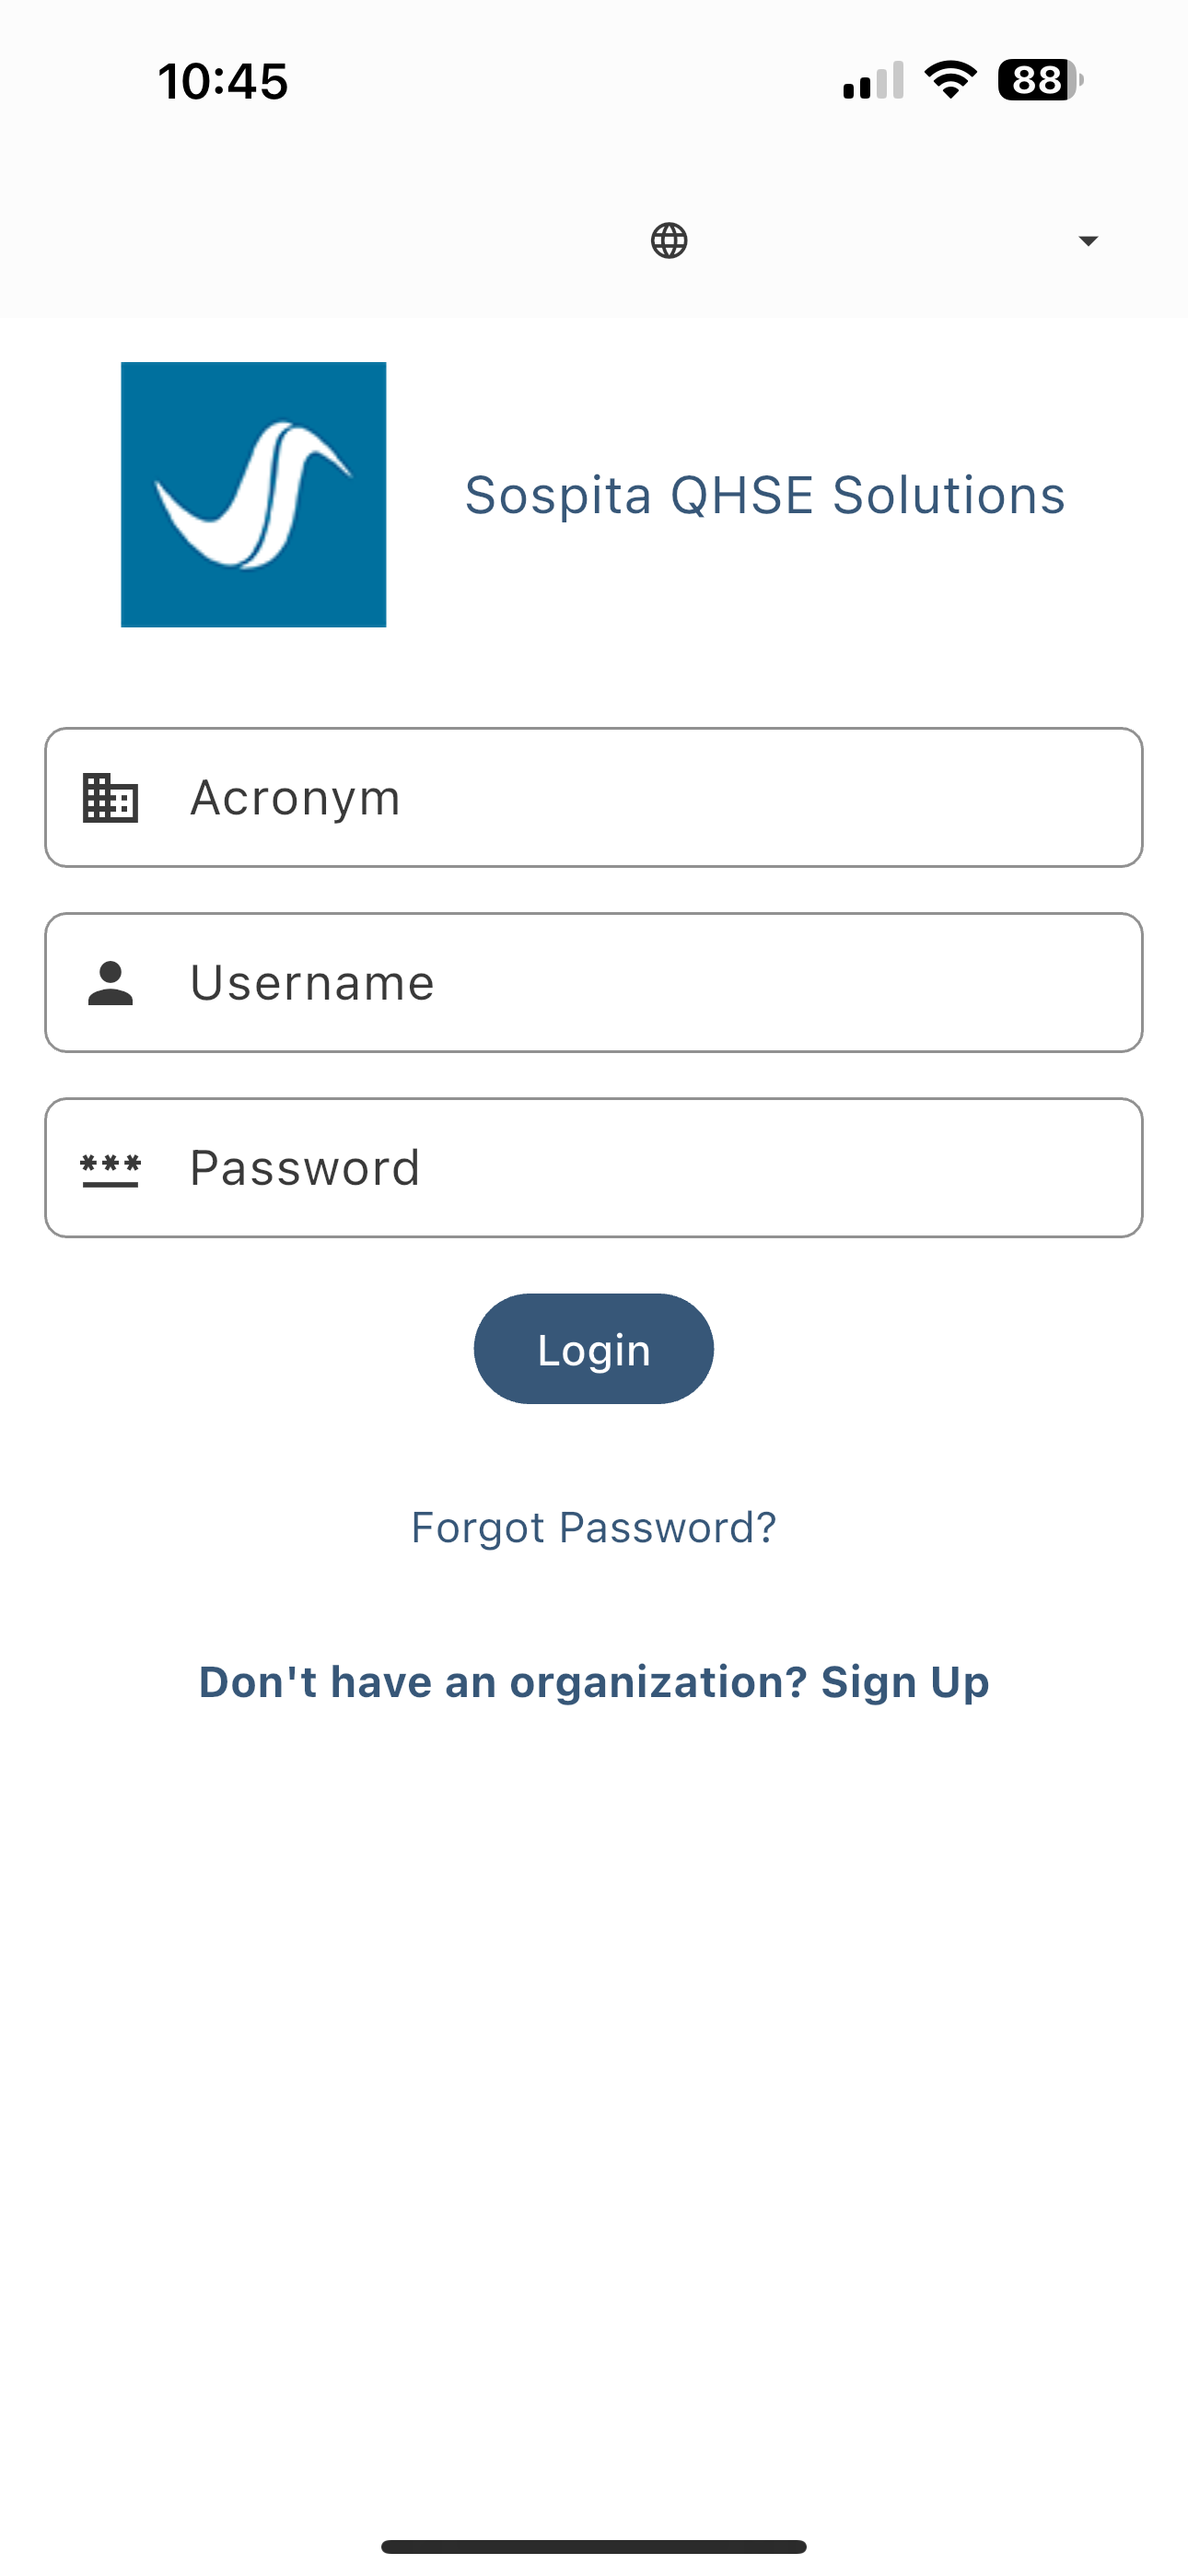
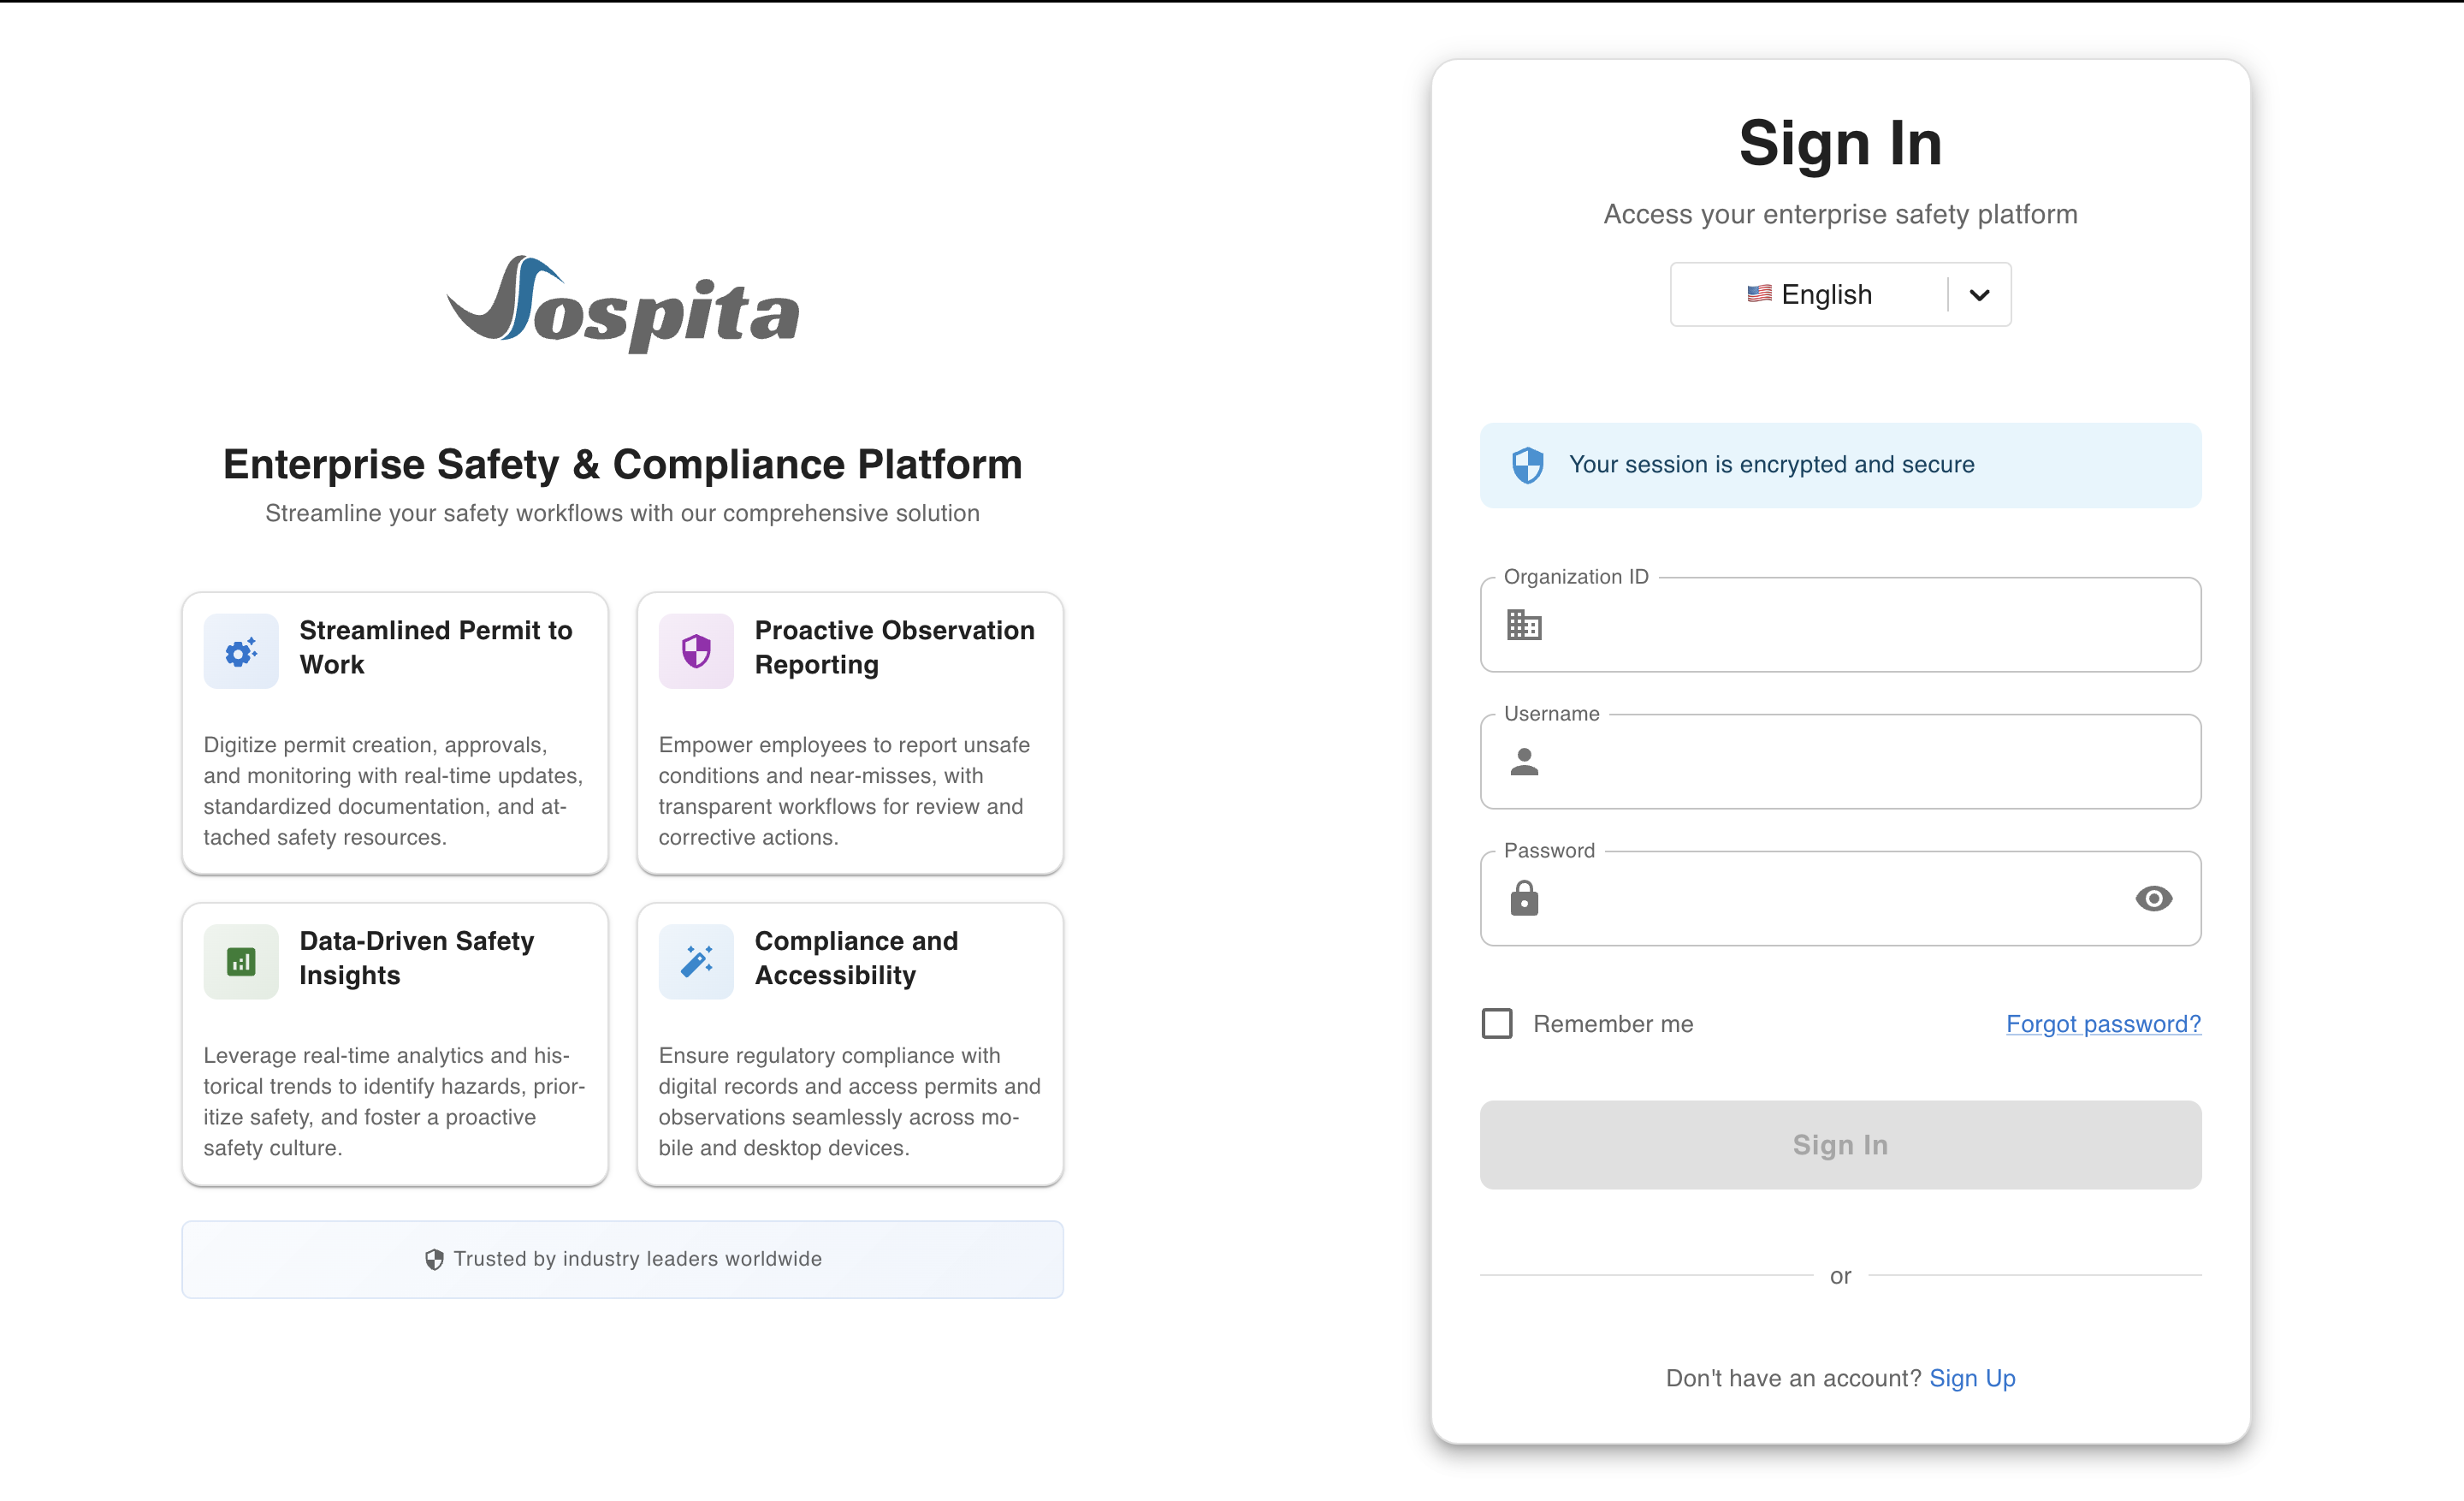
After your information has been validated, you’ll be redirected to the Sign-In page. To access your account, enter:
The Organization ID you created during Sign-Up.
Your admin username.
Your password.
Organization Settings
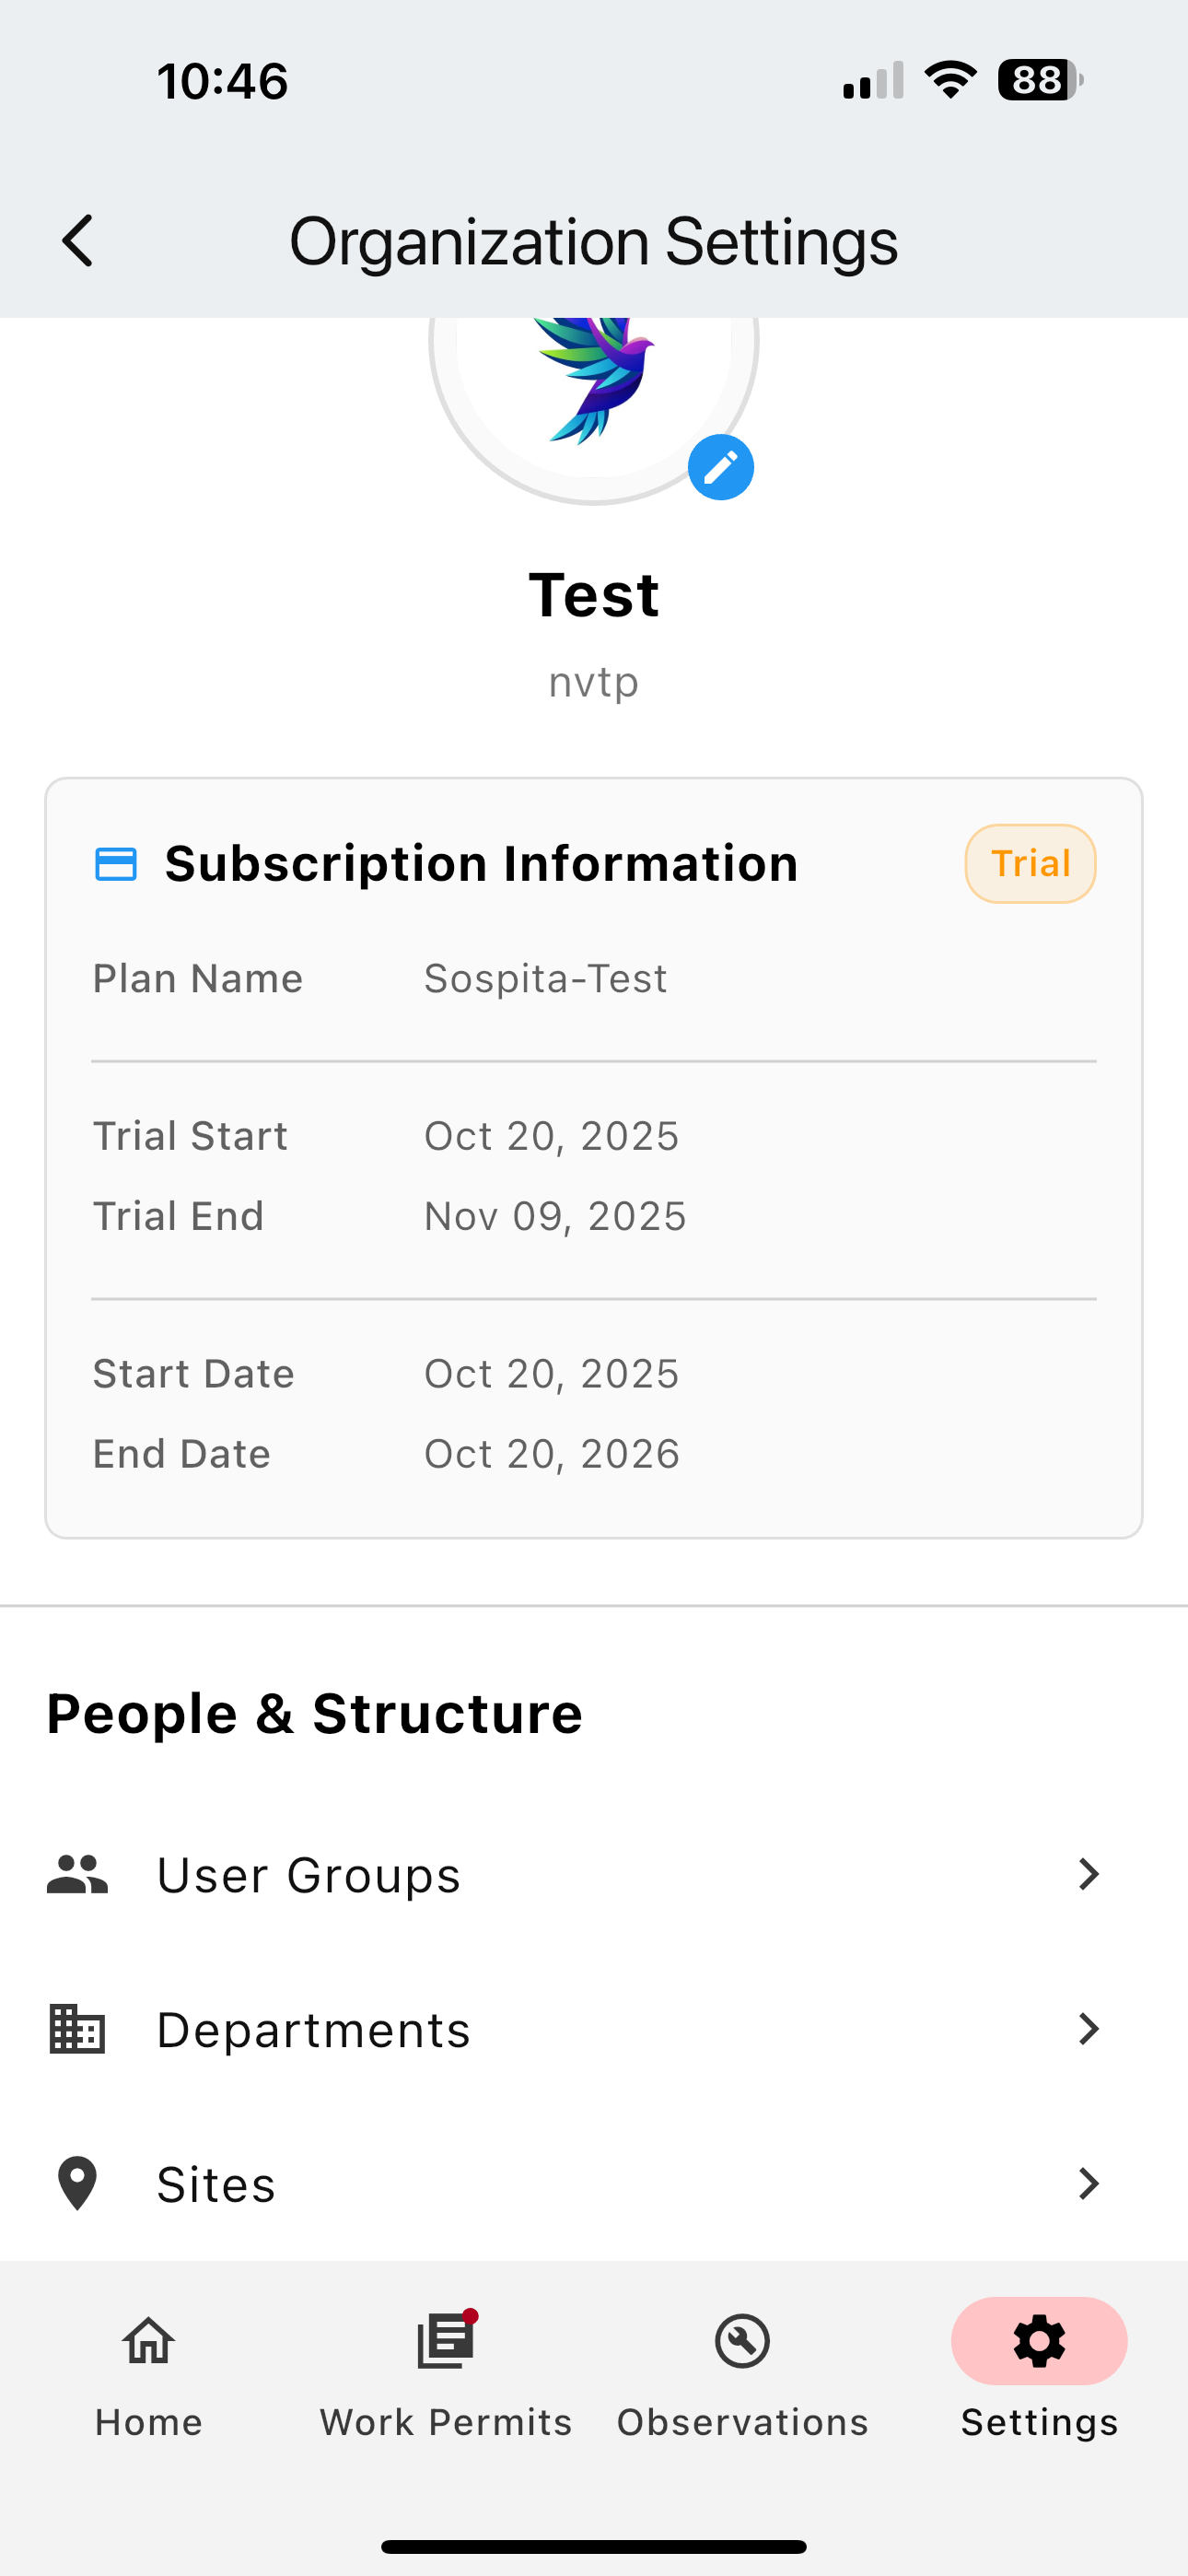
Go to the Organization Settings page to configure your organization’s metadata:
Departments.
Sites (locations or sections).
User groups by role.
Organization name, logo, and address.
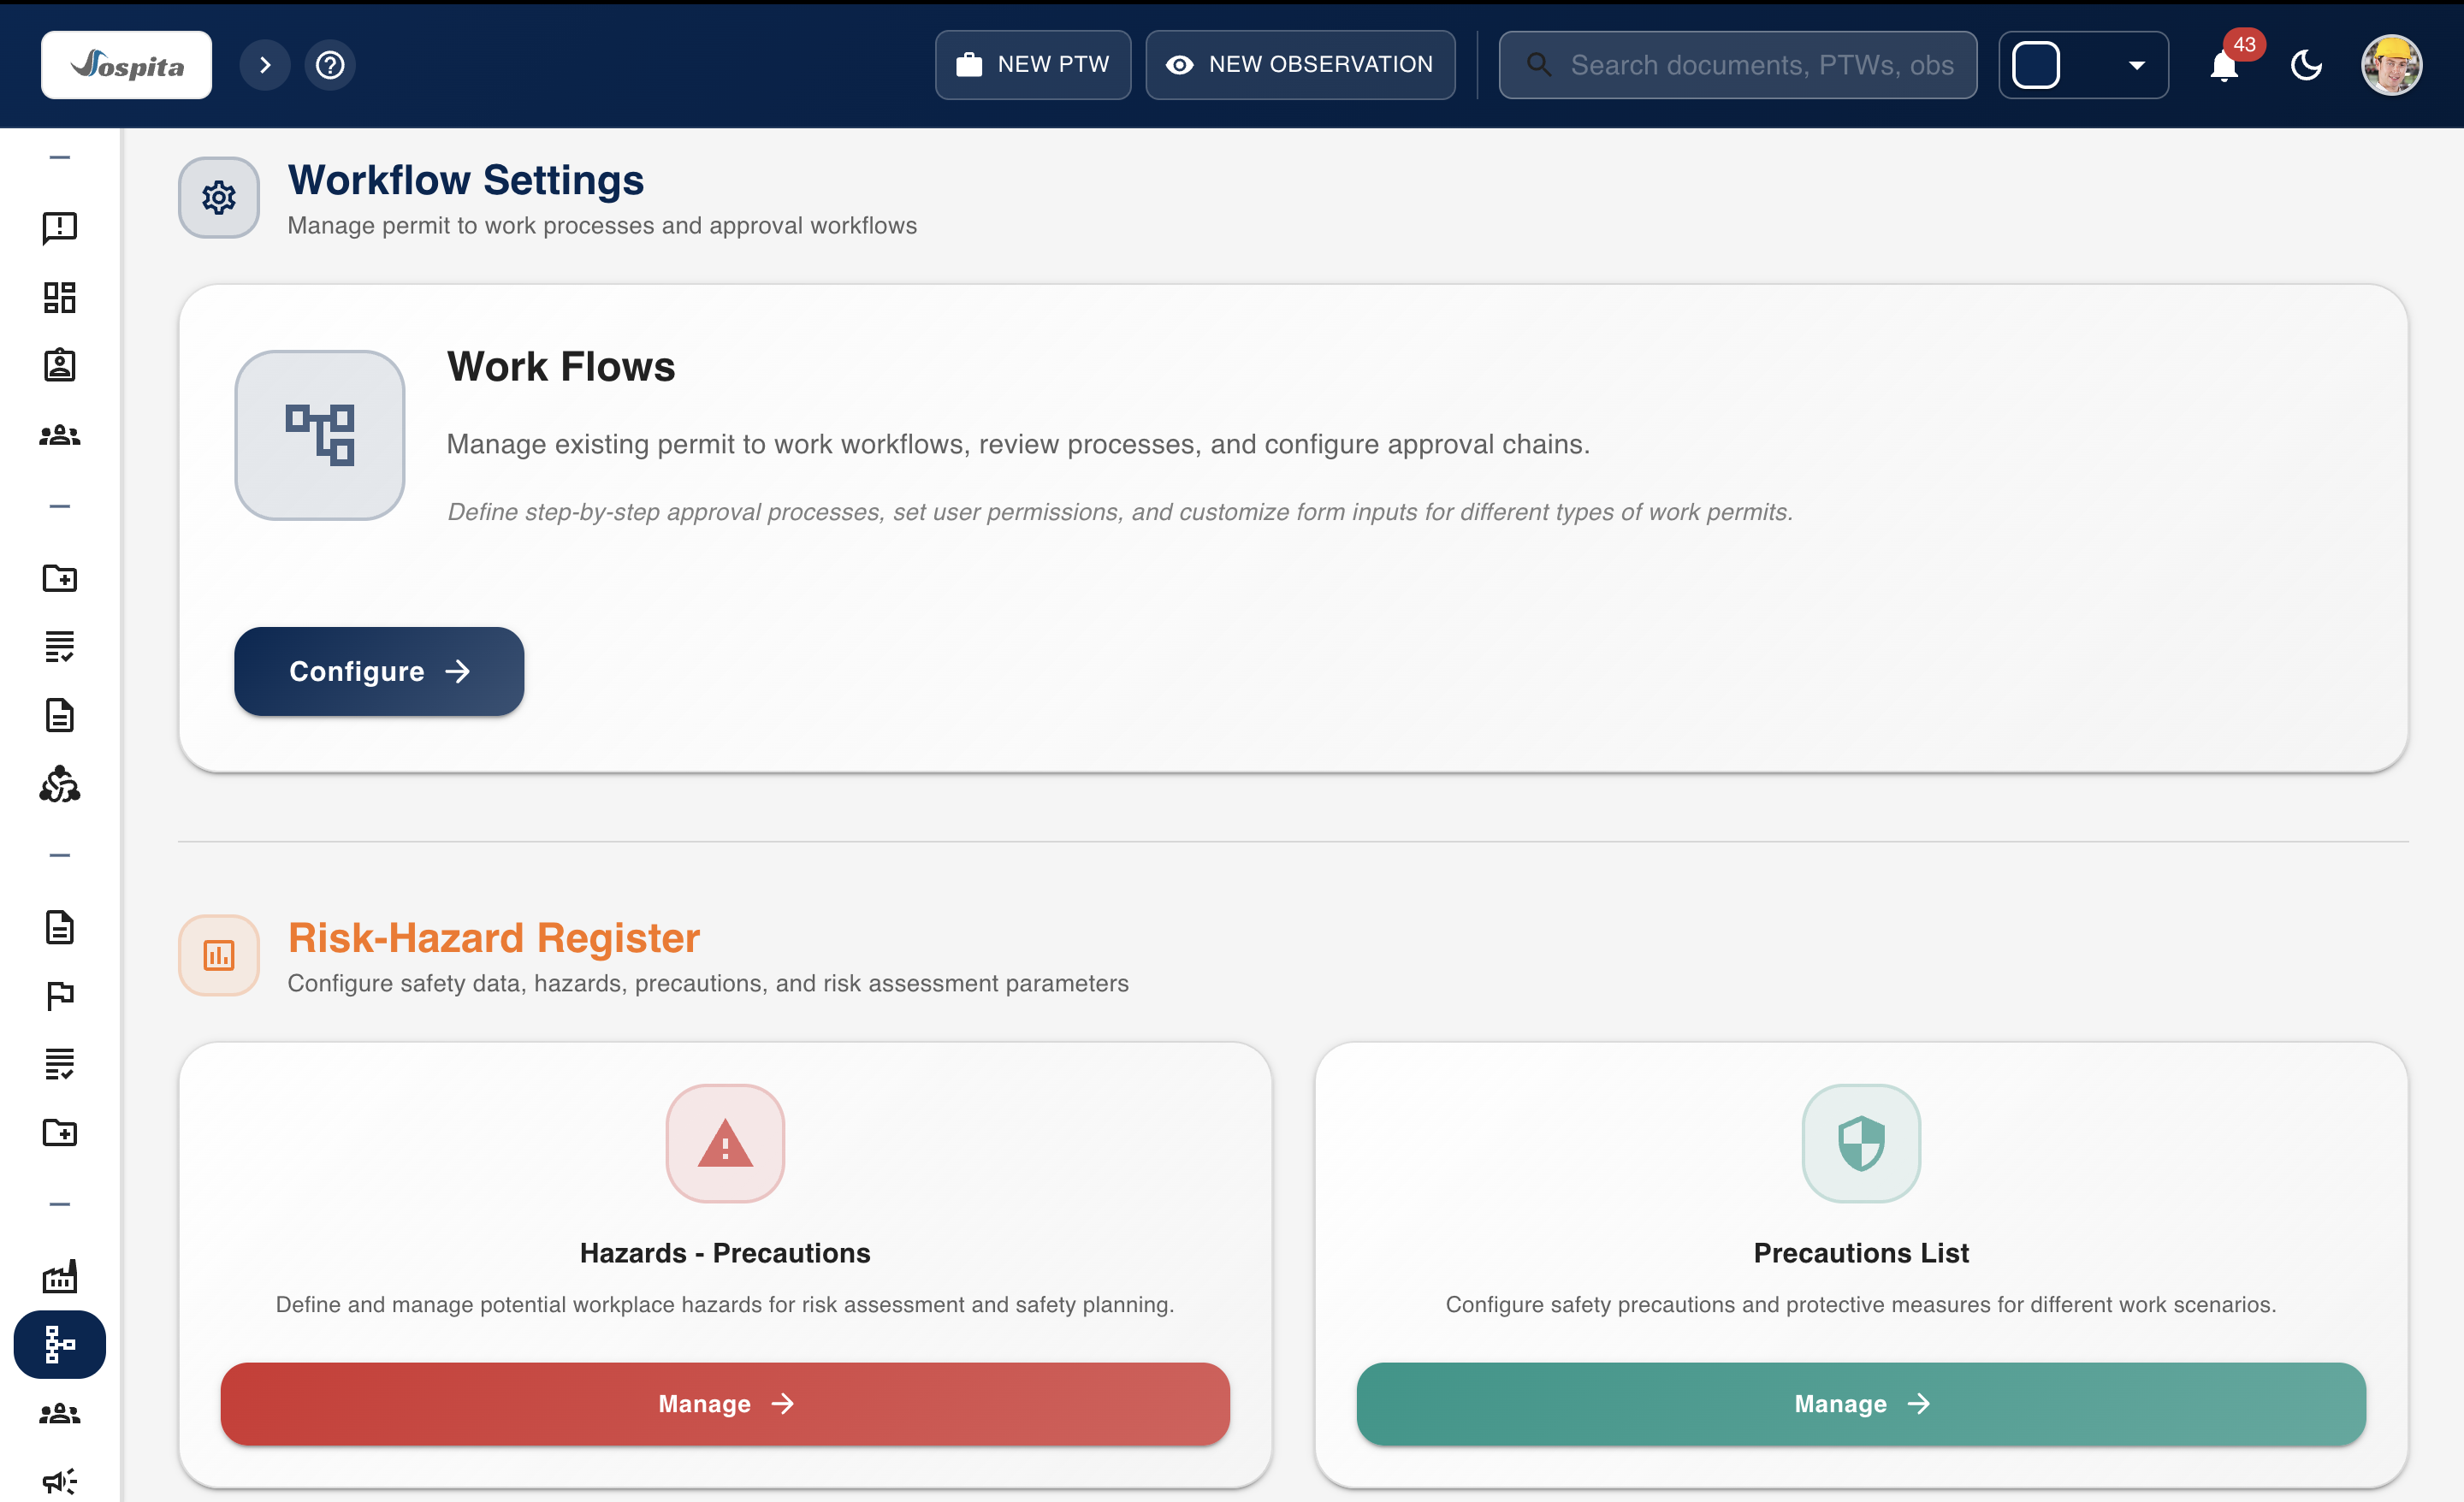
PTW Settings
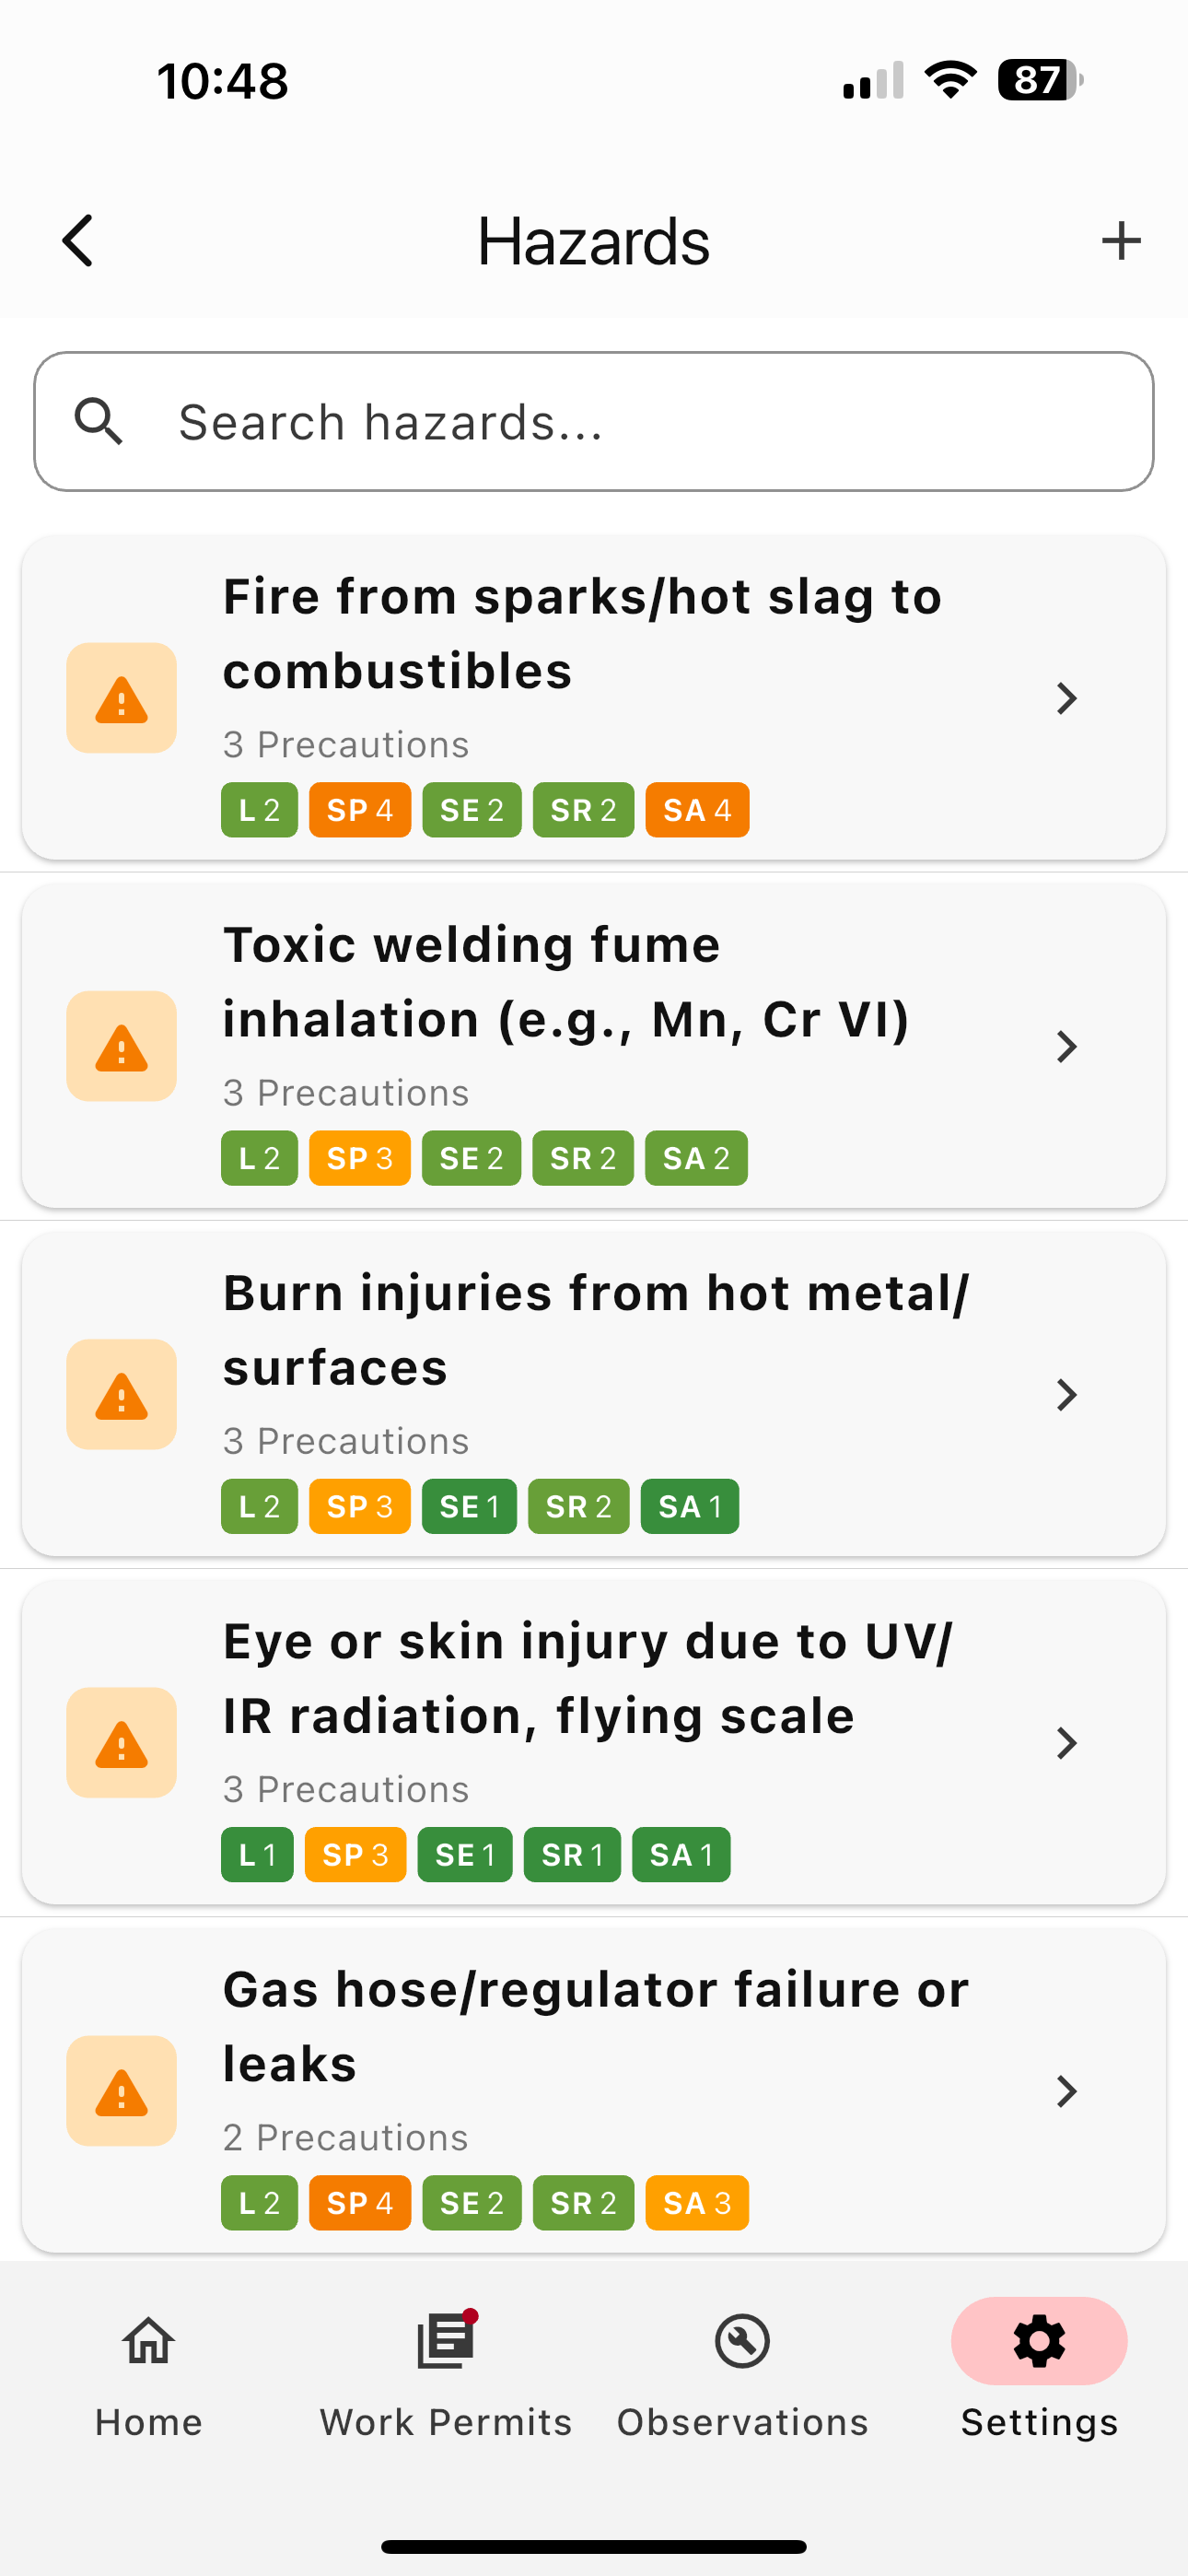
Access existing workflows for each work and observation type—customize them to fit your procedures or create new workflows. You can also configure:
Hazards list.
Precautions list.
Link Hazards to work types so they will append during PTW.
Categorise your precautions.
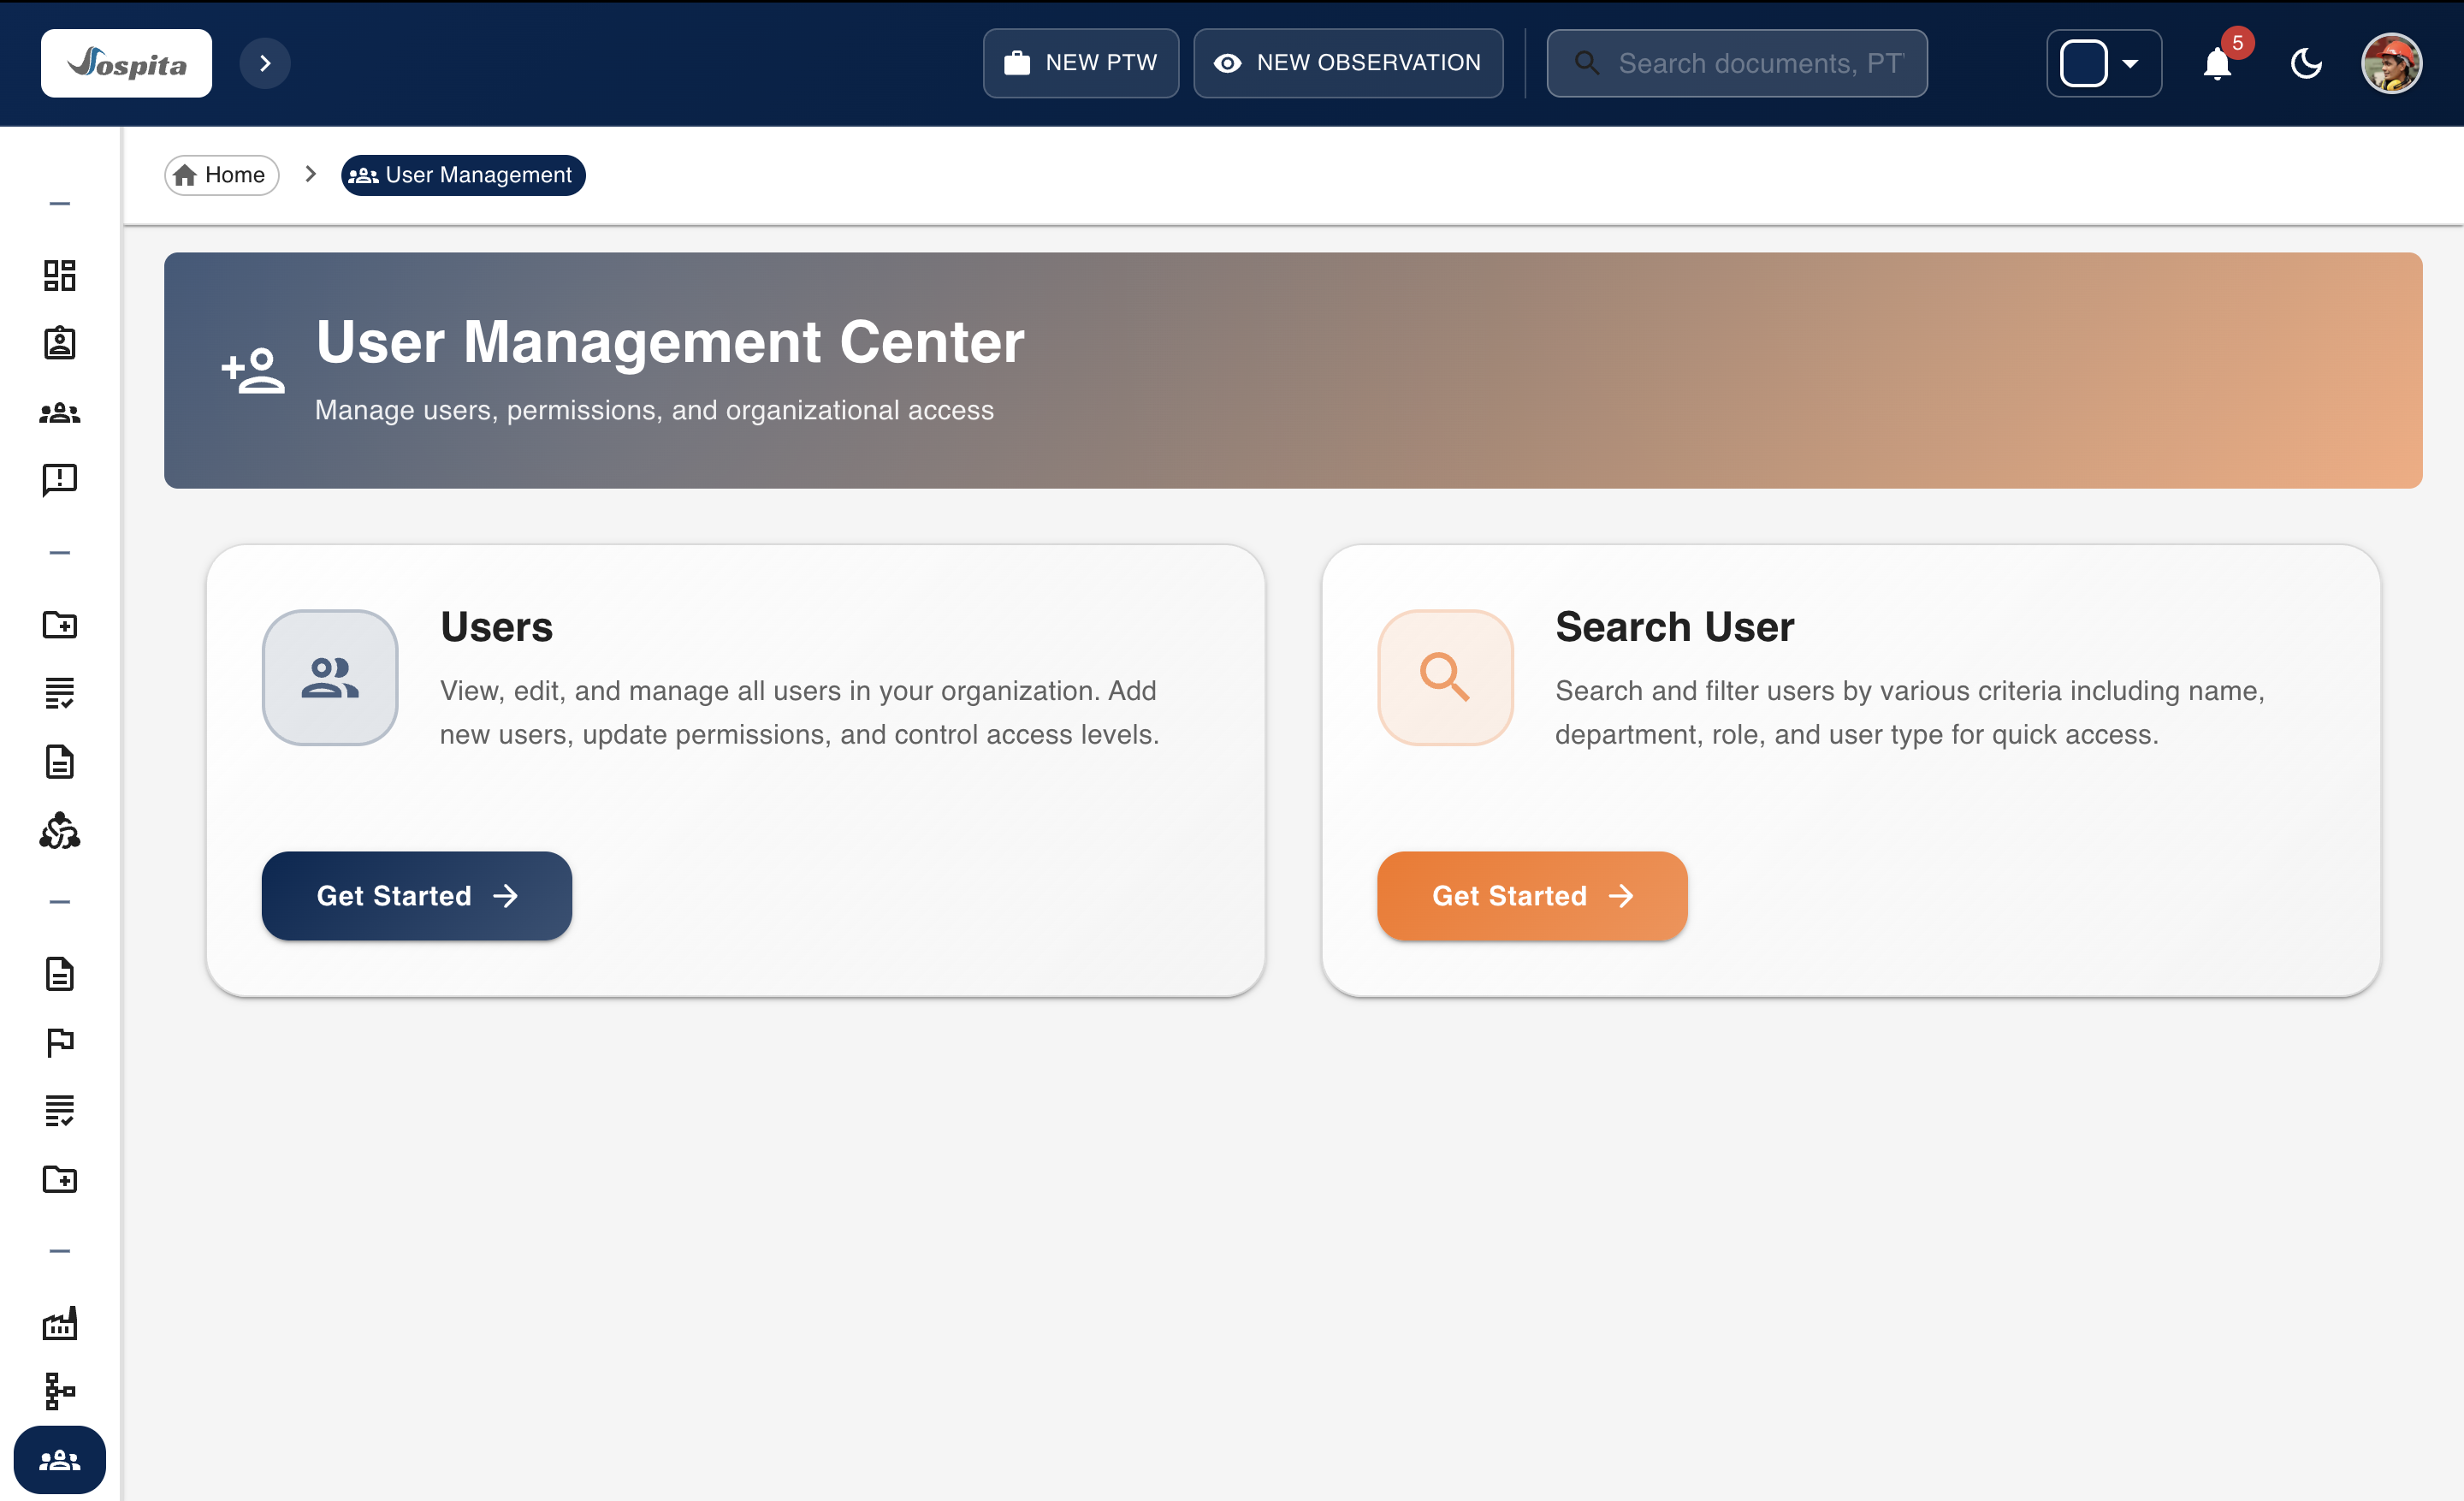
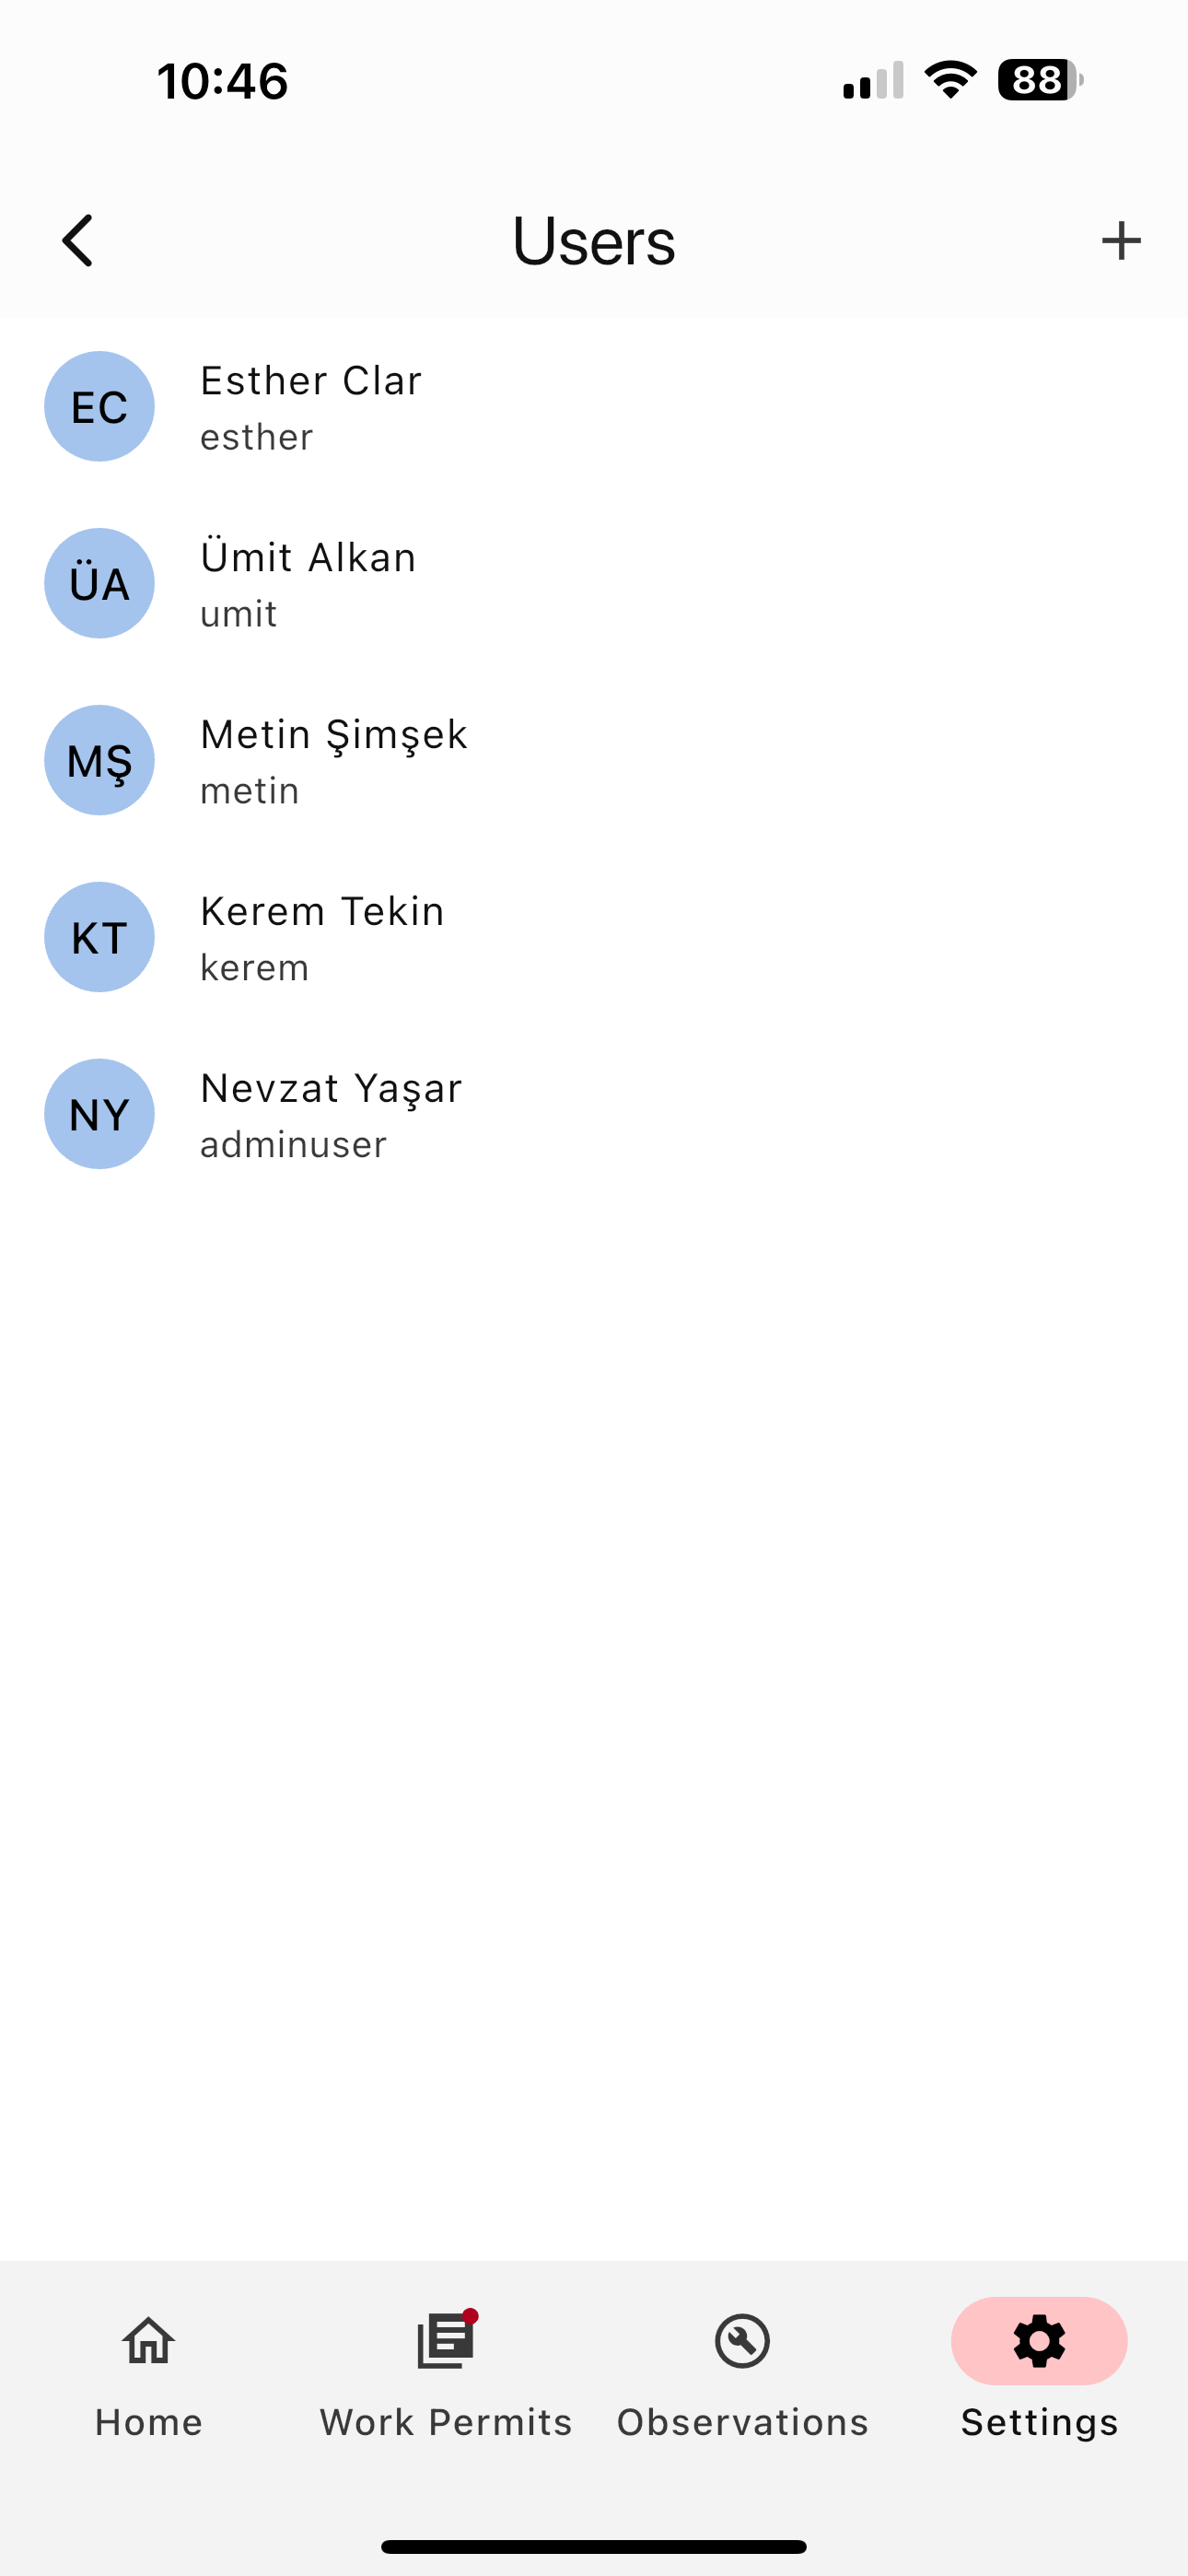
User Management
Once you’ve set up user groups and departments, you can begin adding users to the system. Each user must have, in addition to their first and last name:
User type (Admin or User)
User group
PTW and Observation visibility settings
Username and Password
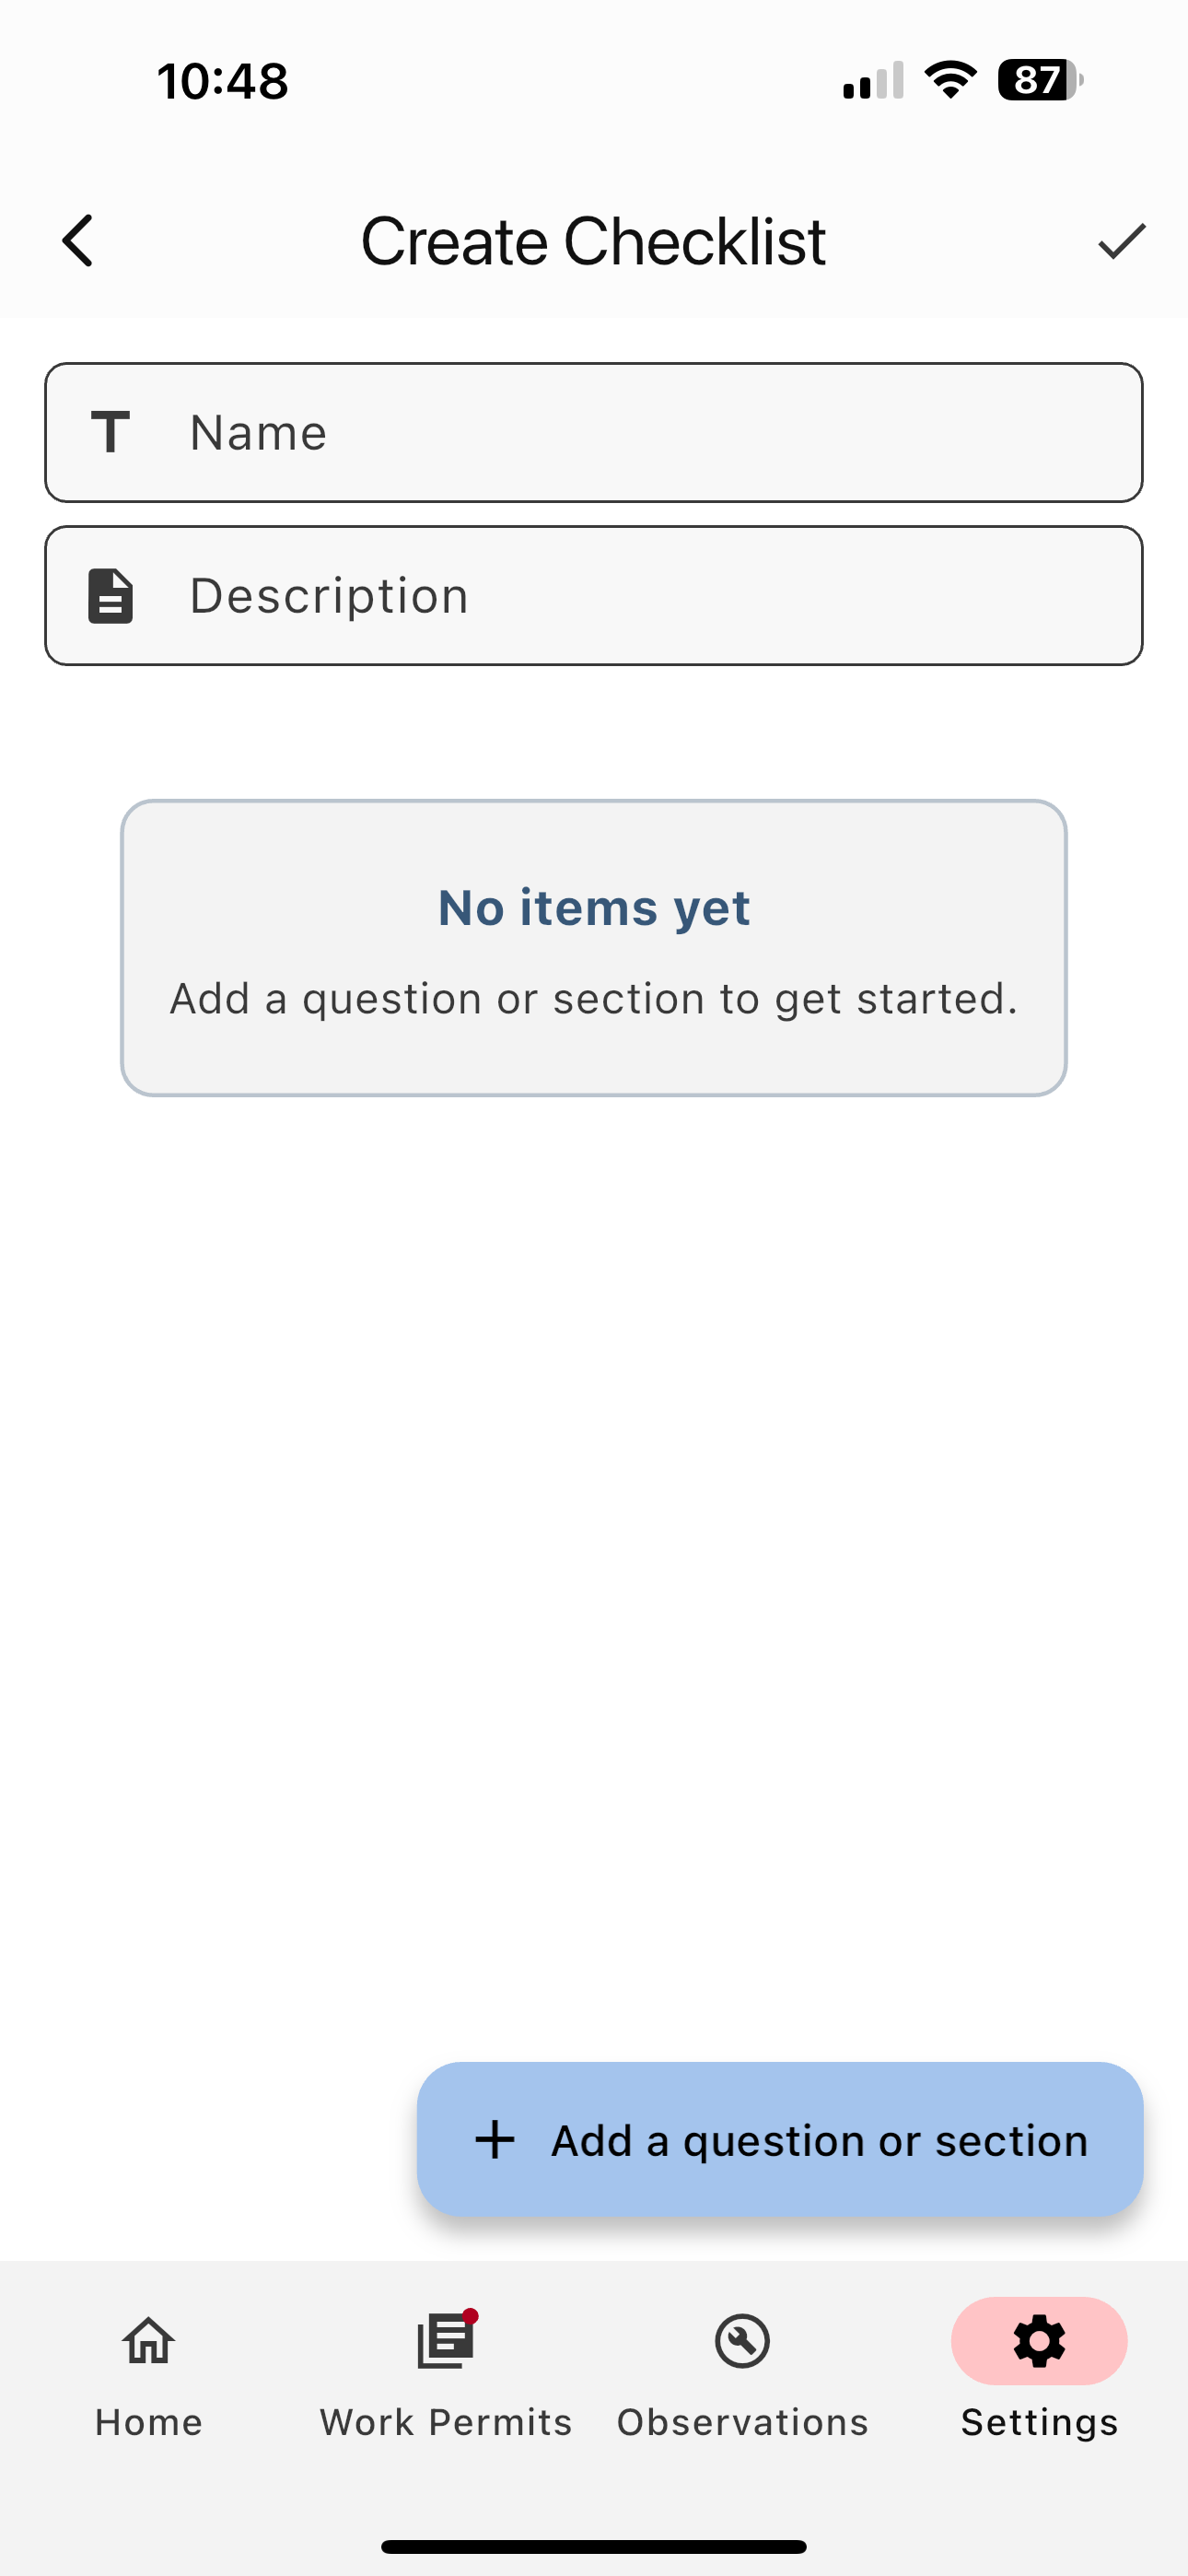
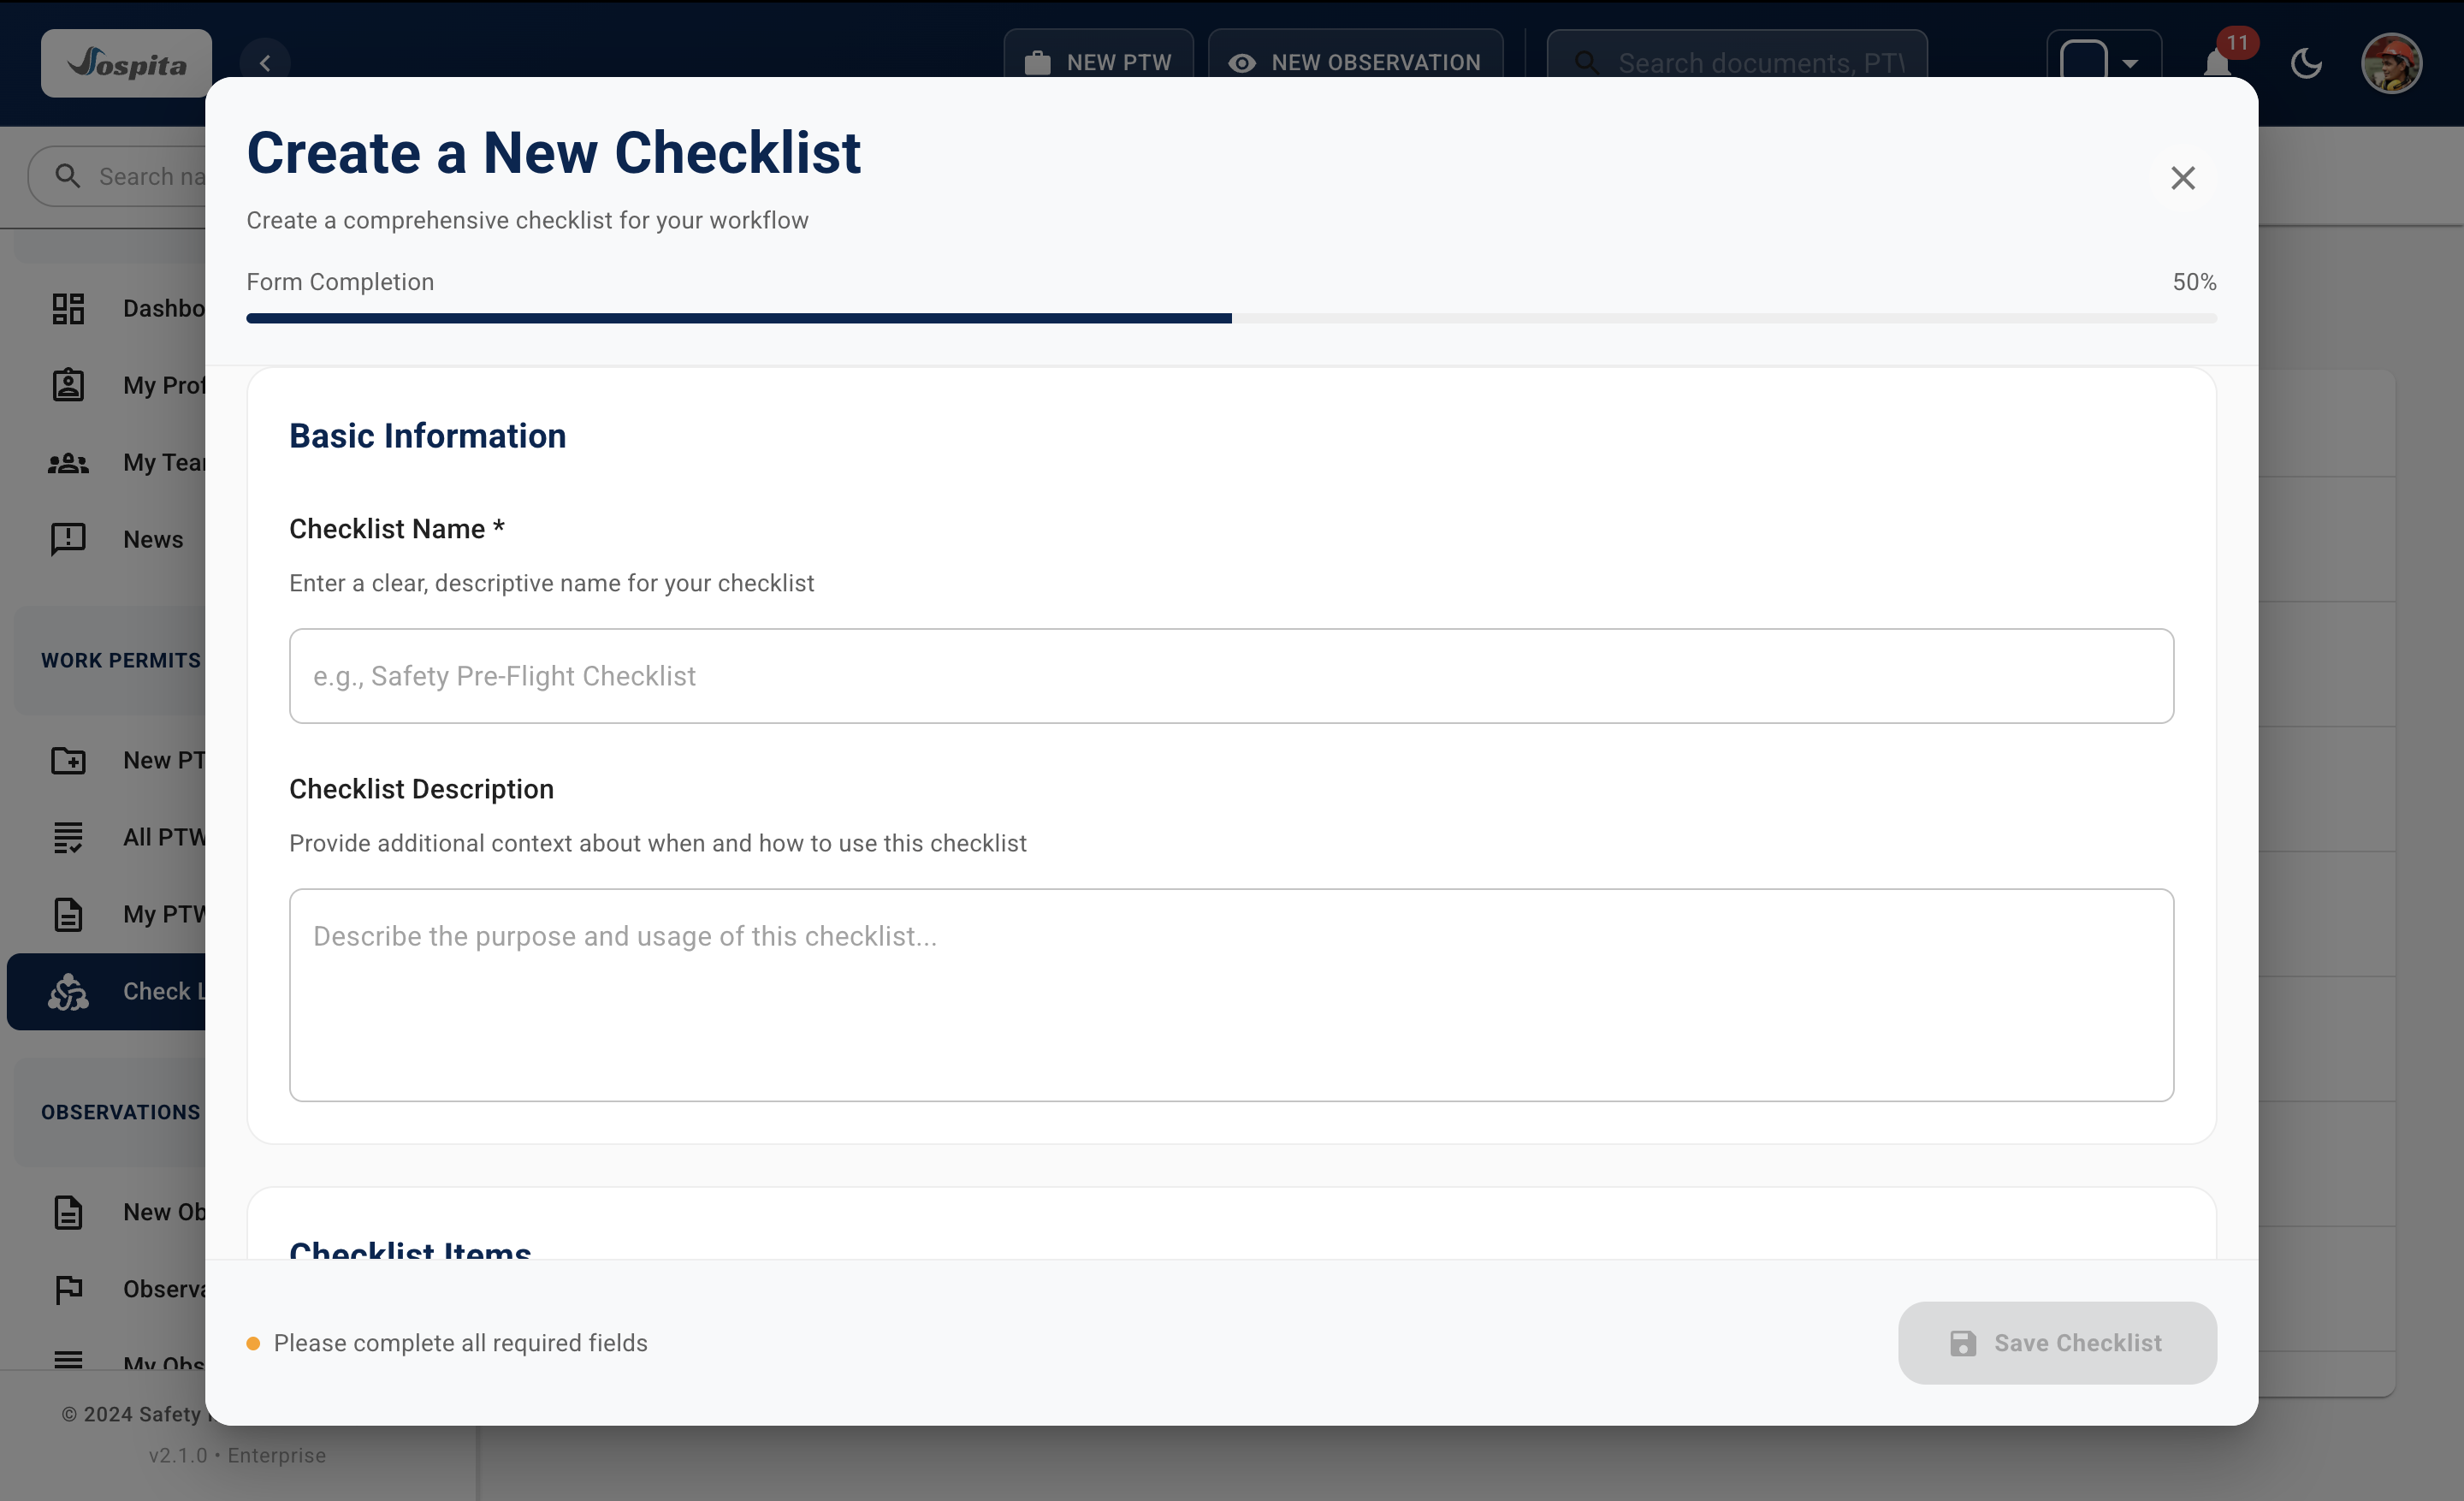
Create & Modify Checklists
Edit default checklists or build new ones using an intuitive wizard. All users can view and preview checklists, while admins can create, update, or delete them. Each checklist includes:
A name and description
Sections with helper text
Questions offering YES/NO/NA options
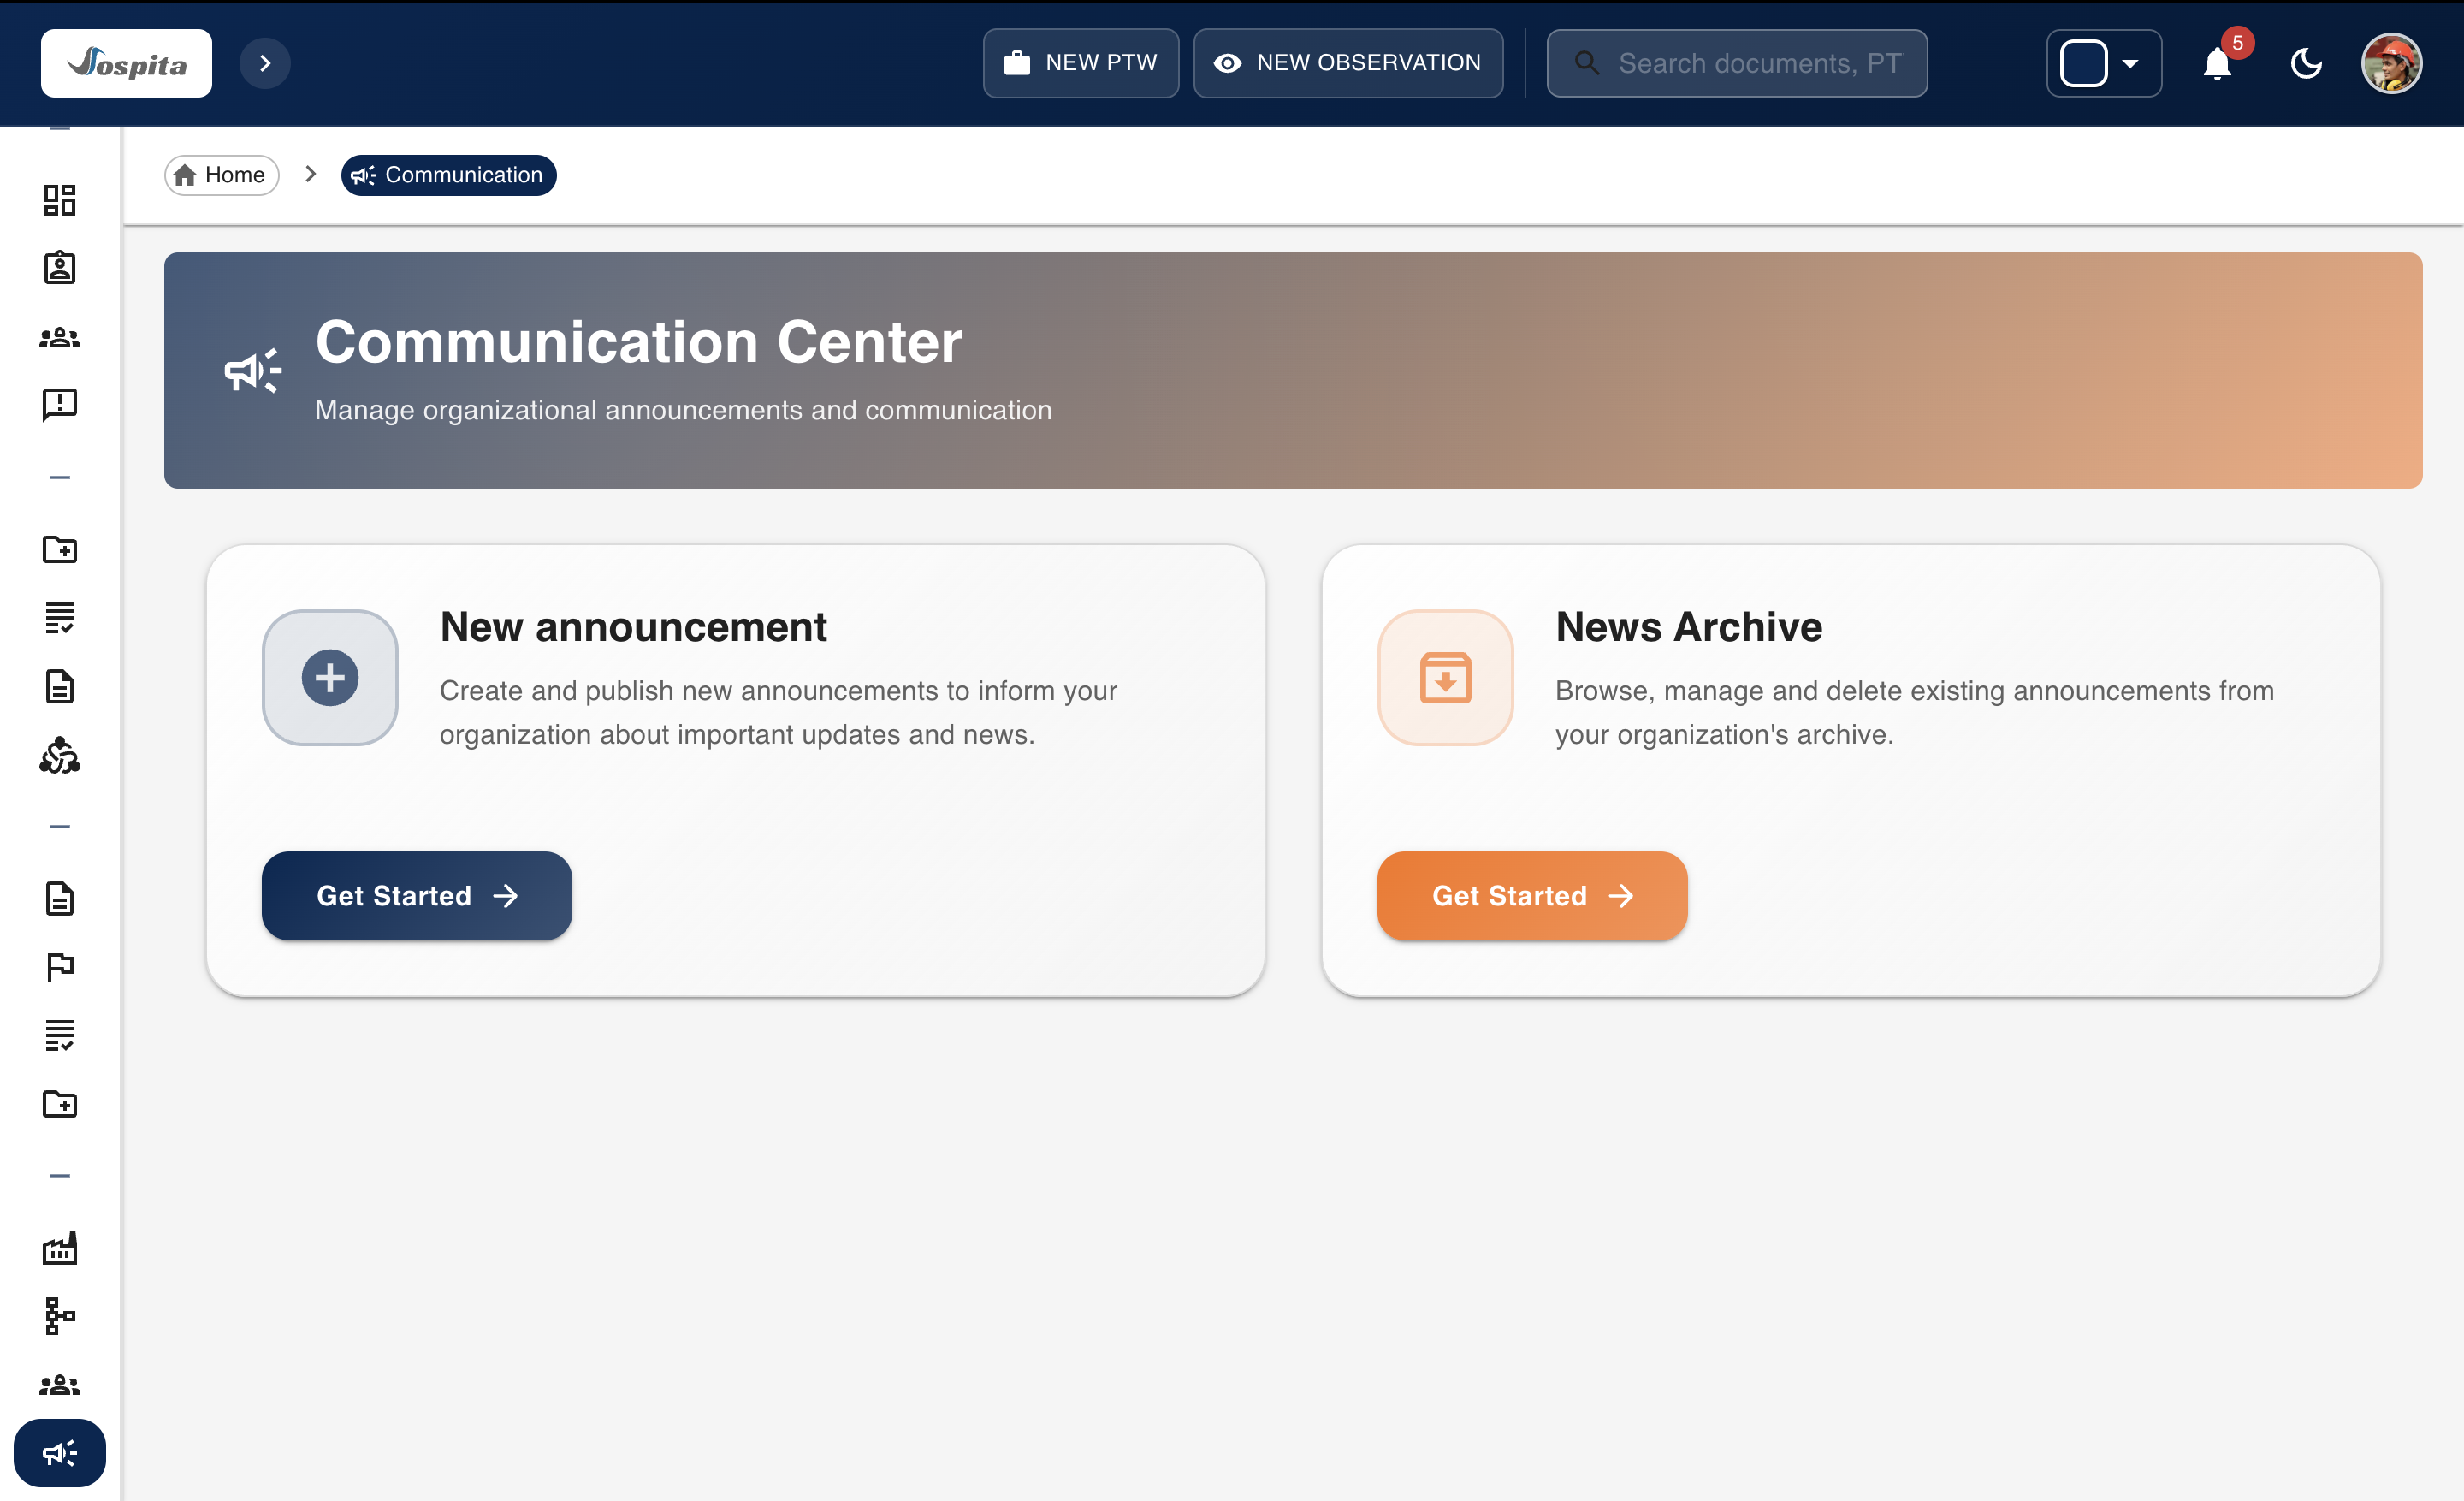
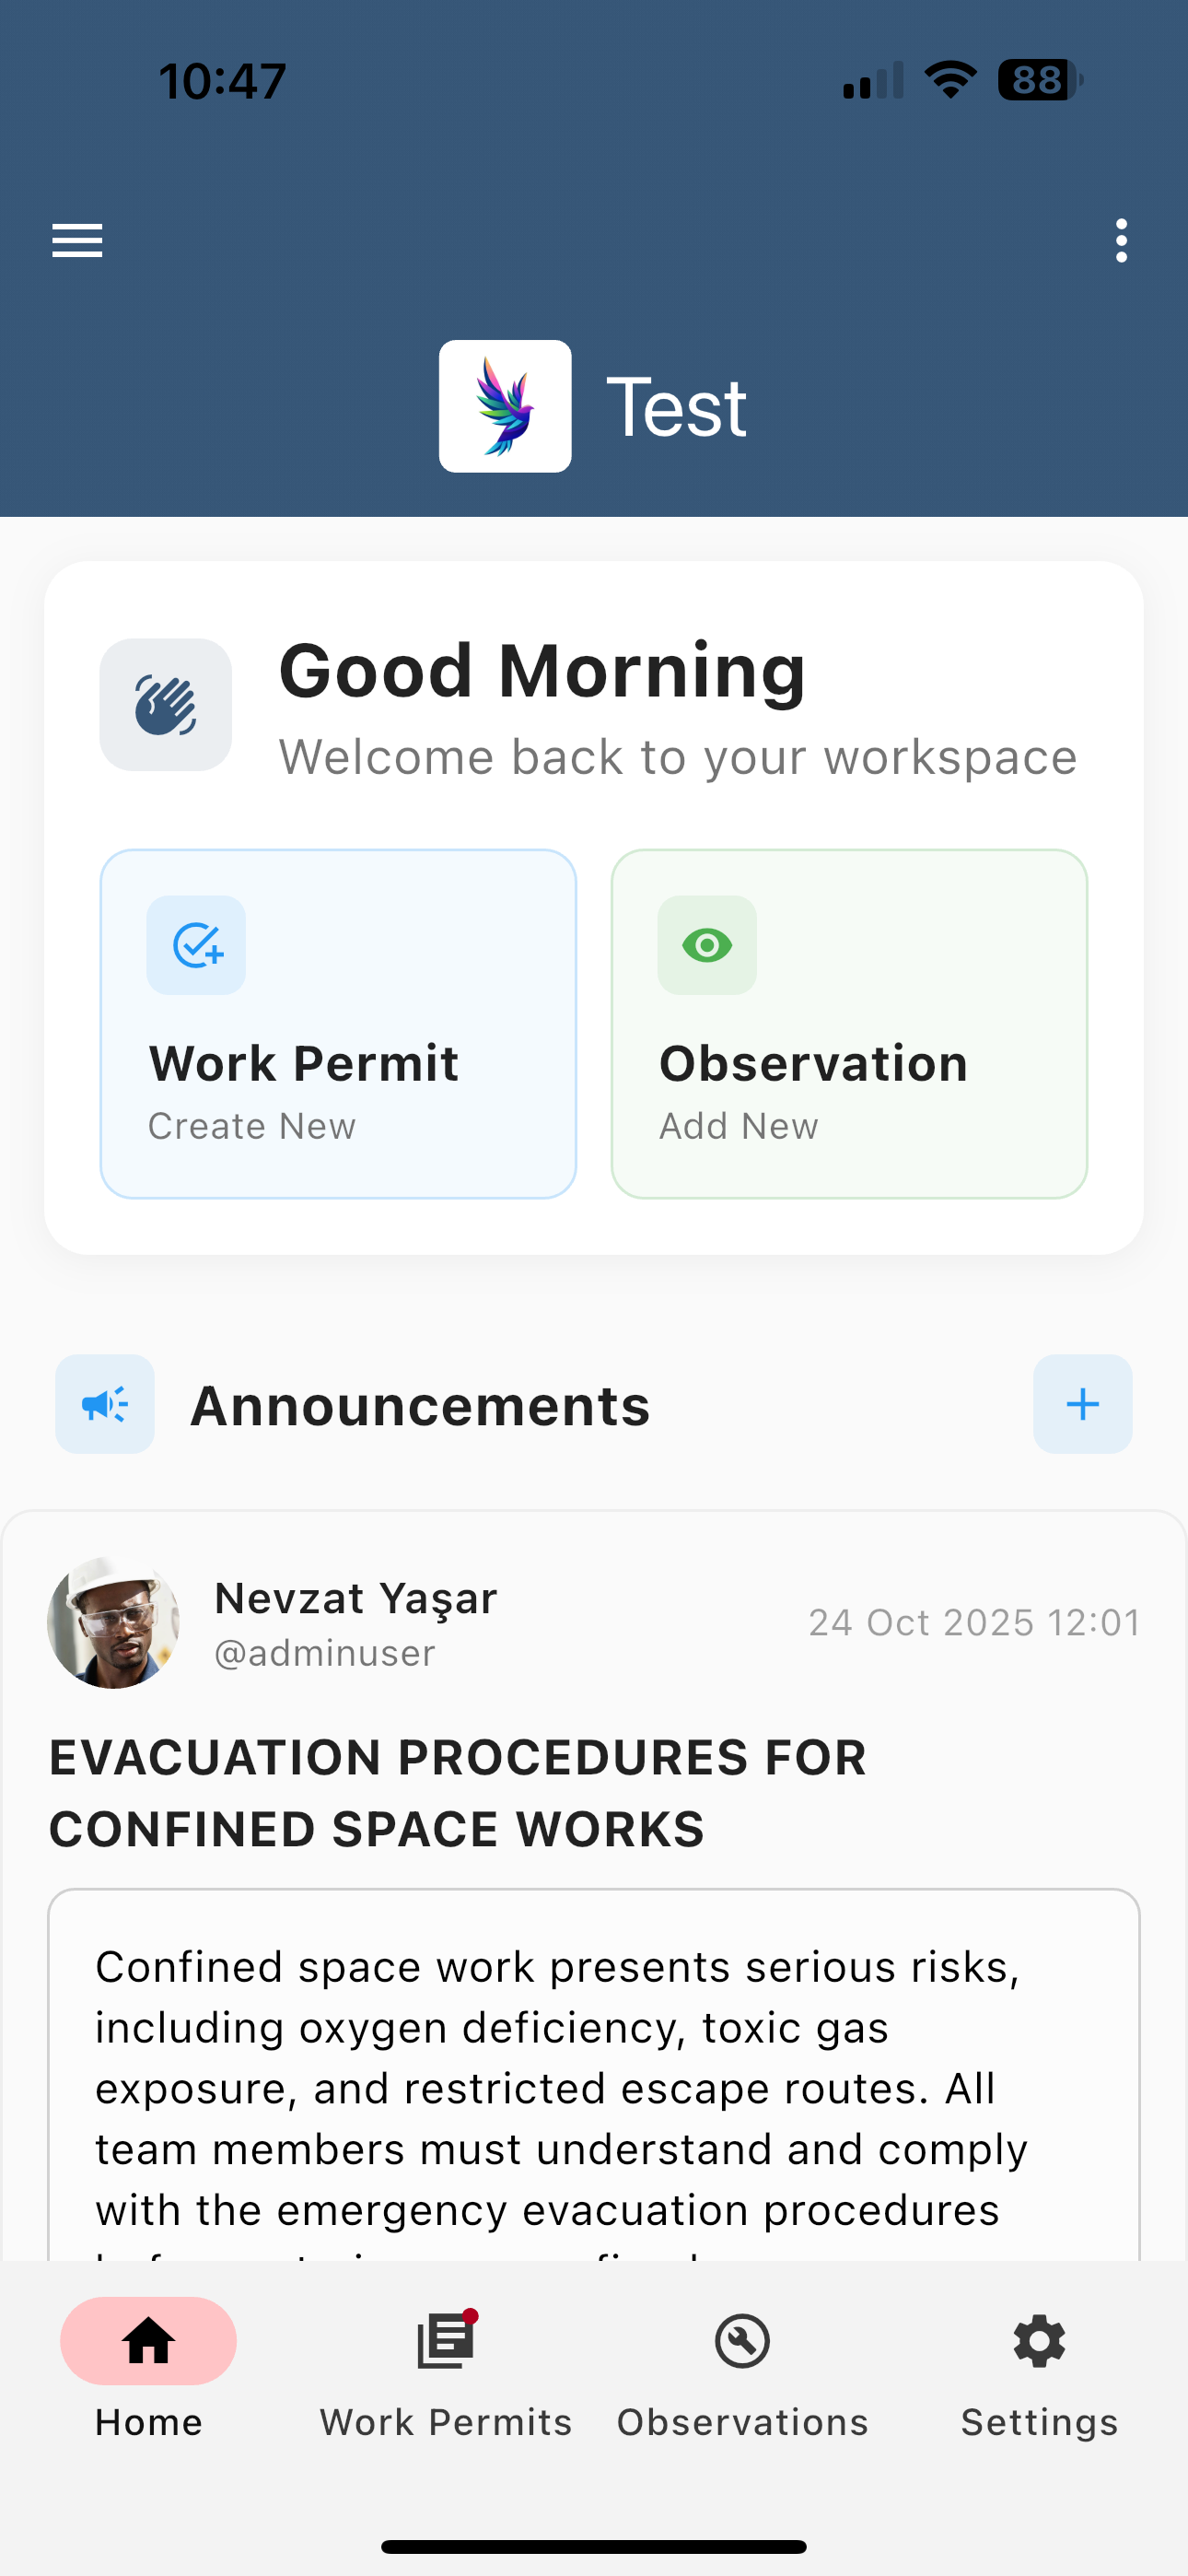
Go‑Live Announcement
Once you’ve completed all setup steps, your system is ready to go live. Head to the Announcement page to share the launch, then create your first PTW or Observation. To get started:
Create a PTW and/or an Observation
Follow each step in the defined workflow
Review the system to see if a fine tuning is needed.